On this page
The best paint for kitchen cabinets is a cabinet-suitable enamel that works with the existing surface, a compatible primer and the time you can allow before returning the doors to use. Benjamin Moore ADVANCE Satin is worth considering when you want a waterborne alkyd and can accommodate its published 16-hour recoat interval. Sherwin-Williams Emerald Urethane Trim Enamel offers a different waterbased alkyd system with a published four-hour recoat interval under its stated conditions. BEHR PREMIUM Cabinet, Door & Trim is another option with a two-hour recoat time on its current product page.
Those times help plan the work; they do not prove which finished film will be best on your cabinets. A faster second coat does not establish full cure, and a premium topcoat cannot hold a peeling layer or swollen board together. Make the decision as a complete coating system, then test it on the actual cabinet before painting every door.
Start with the substrate and the condition of the old finish
Look at an unfinished edge, the back of a door and any damaged area. Identify solid wood, veneered board, MDF, laminate or a wrapped plastic face. A wood-grain pattern on the front is not sufficient identification, and a painted door may have a different core from its frame.
Then examine the existing coating. Is it firmly attached, chalky, glossy, soft, chipped or contaminated near handles and the range? A new film bonds to that layer, not to the sound material you hope is underneath it. Remove the cause of failure before choosing the topcoat.
| Existing surface | Main issue to resolve | What the selected system needs to do |
|---|---|---|
| Sound bare wood | Porosity, grain texture and possible staining | Seal appropriately and provide the intended appearance without assuming paint fills grain |
| Previously painted wood | Existing adhesion, chips and gloss | Bond to a clean, sound prepared coating and cover repaired edges |
| MDF or veneered board | Absorbent edges, thin faces and any swelling/delamination | Seal intact material without over-wetting or sanding through the face |
| Sound laminate | Smooth nonporous face and sound edge bonding | Use a primer/topcoat system approved for that surface after preparation |
| Wrapped or thermofoil face | Whether the film and its bond remain sound | Obtain surface-specific approval; repair or replace failing components before coating |
Do not assume that a coating system can restore the structure of a damaged door. A lifted laminate edge, crumbling MDF corner or failing wrap remains a physical problem under new color. Painting over it can hide the condition briefly while making the next repair more difficult.
Before disturbing old painted surfaces, address possible lead. In U.S. homes built before 1978, follow EPA's lead-safe renovation guidance and arrange appropriate assessment and help before sanding or scraping. That age threshold is U.S. context, not a worldwide rule for all cabinets.
Compare three documented cabinet paint systems
Compare the finish you want, the preparation the product requires and the time between coats. The manufacturers describe all three for cabinet or trim work, but their published recoat intervals are not a controlled durability test.
| Product | Practical reason to consider it | Preparation and application to plan | Published recoat interval |
|---|---|---|---|
| Benjamin Moore ADVANCE Interior Paint Satin 0792 | Waterborne alkyd formulated for flow and leveling when an overnight recoating schedule is workable | Its cabinet guide covers separate primer selection and brush application with the door horizontal | 16 hours in the current U.S. product information |
| Sherwin-Williams Emerald Urethane Trim Enamel Satin | Urethane-modified alkyd with a shorter published interval between coats | Its interior-wood specification lists primer plus two finish coats; its instructions cover synthetic-bristle brush, roller and spray methods | Four hours at the data sheet's stated conditions |
| BEHR PREMIUM Cabinet, Door & Trim | Cabinet/trim enamel with the shortest published recoat interval of these three | Its wood-cabinet preparation calls for cleaning and sanding; primer is recommended, with separate brush and roller guidance | Two hours; darker colors and conditions may extend drying |
For a sound wood door, use this table to choose the workflow before buying the whole quantity. A longer recoat interval needs more undisturbed storage time; a shorter one may allow another coat sooner, but preparation and return to normal use still take their own time. For laminate or an unfamiliar factory finish, resolve the primer and adhesion test first: changing the topcoat brand does not establish a bond to that surface.
Benjamin Moore ADVANCE for leveling with an overnight recoat schedule
ADVANCE Satin 0792 is described by Benjamin Moore as a waterborne alkyd. Its U.S. product page lists a 16-hour recoat time and soap-and-water cleanup. That makes it a candidate for a project where the painter can leave doors undisturbed between coats rather than forcing the work into one short session.
Allow for the whole sequence: primer, any permitted intermediate preparation, each finish coat and handling. A spare room full of door racks can support a different schedule from a kitchen where the doors must be rehung the next morning. Check the exact sheen, base and local product documentation; a family name is not permission to use a different version's timings.
The manufacturer's cabinet refinishing guide gives a concrete brush method: use a nylon/polyester brush and paint two-sided pieces horizontally so the finish can level. It also separates wood and laminate primer choices. Use the current local primer and paint instructions to build that system rather than treating the topcoat as primer-free.
Emerald Urethane when a four-hour recoat interval is useful
The Emerald Urethane Satin product data sheet, dated March 2026, identifies a urethane-modified alkyd resin system. It lists a four-hour recoat interval at 77°F and 50% relative humidity, and states that temperature, humidity and film thickness affect drying. It also gives substrate-specific primer/finish systems.
The practical advantage is scheduling flexibility when the work and conditions suit that interval. It does not mean doors can be stacked, scrubbed or clamped together after four hours. Follow the actual handling and return-to-service instructions for the chosen coating.
For interior wood, this data sheet specifies one coat of its Premium Wall & Wood Primer followed by two finish coats. It calls for a synthetic-bristle brush or a woven roller cover, with separate spray settings. That is a defined coating sequence to evaluate on the test door; a shorter recoat interval does not remove a coat or the required preparation.
BEHR Cabinet Door and Trim when its system fits the job
The BEHR PREMIUM Cabinet, Door & Trim product page lists one hour dry time, two hours to recoat and two coats for optimal durability. It also warns that darker colors, cooler conditions and higher humidity can require longer drying. Its listed applications require properly prepared and primed surfaces.
For interior wood cabinets, the same page calls for cleaning, removal of loose paint and scuff sanding glossy surfaces, and recommends primer. Its brush guidance specifies a high-quality nylon brush; its roller guidance calls for a 1/4-inch nap cover. Match those directions to the selected sheen and test the finish on both a flat area and a door profile. Two hours to recoat is not a promise that the complete cabinet is ready for ordinary use.
A local supplier can confirm the exact product and available documentation. Product names, bases and formulations may differ by market, so an imported can should be checked against its own label rather than an unrelated U.S. page.
Choose primer for adhesion, sealing or stain blocking
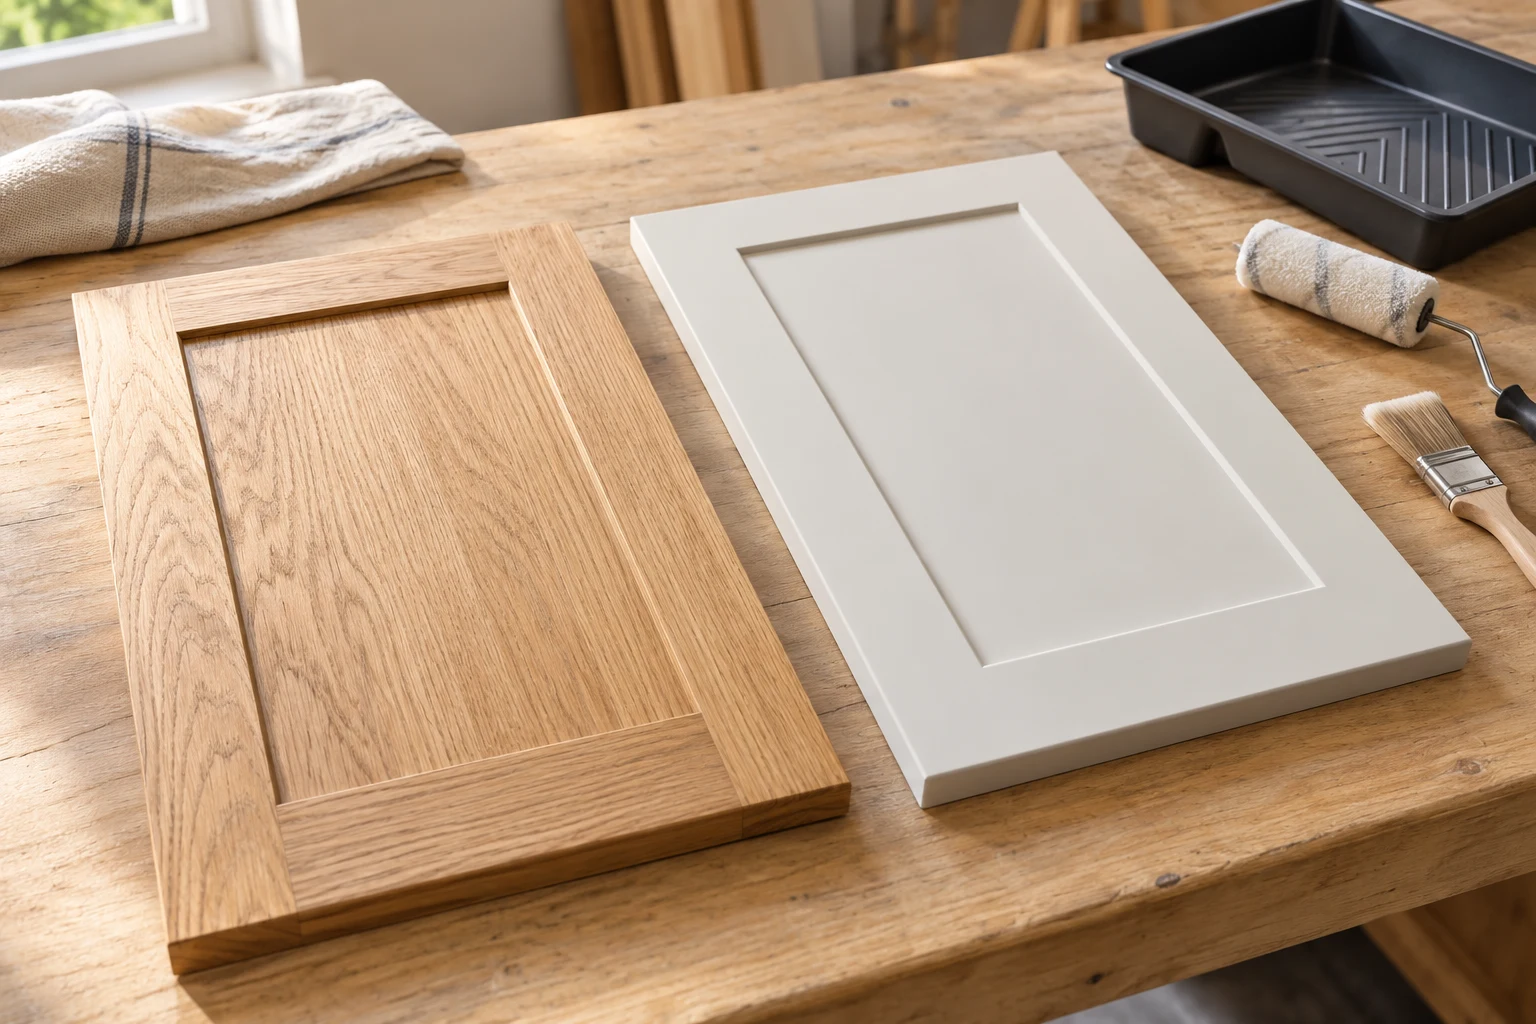
Primer does several different jobs. A bonding primer addresses a difficult-to-coat surface. A sealer controls porosity. A stain-blocking primer addresses substances that can migrate through a finish. One product may serve more than one purpose, but the words are not interchangeable.
For a slick, sound laminate or glossy coated surface, a high-adhesion primer may be part of the answer. INSL-X Stix SXA-110 lists difficult surfaces and discusses their preparation. Its data sheet recommends proper preparation and deglossing of surfaces such as Formica and glossy paint even though it describes use on many glossy surfaces without sanding. Read the special preparation notes as well as the headline claim.
For persistent tannin or knot staining, evaluate a stain-blocking system. Rust-Oleum's B-I-N Shellac-Base Primer guidance identifies knots and tannin bleed among its uses, but still requires a clean, dry, sound surface. A stain blocker is not a reason to leave grease or loose paint underneath it.
For MDF edges or other absorbent areas, confirm the sealer and preparation with the chosen coating system. Repeatedly wetting an unsealed edge to clean it or applying a heavy coat to hide roughness can introduce a new problem. Repair damaged material before sealing it.
Use the primer's own label for application, ventilation, protective equipment, cleanup and compatible topcoats. Do not mix products or cleaners into a coating to reproduce an online shortcut.
Treat no sanding as a surface-specific question
The phrase best paint for kitchen cabinets without sanding usually hides several different requests: avoiding stripping, avoiding removal of a sound finish, or avoiding any abrasion at all. Those are not the same job.
You may be able to retain a sound existing coating and prepare its surface without sanding it completely away. That does not establish that the finish can be coated straight from a greasy kitchen. Cleaning, removal of loose material, surface repair and the specified deglossing still apply.
The Stix data sheet illustrates the distinction. It gives no-sanding capability for many surfaces but also directs preparation of hard-to-coat glossy areas. Its recoat interval is different from the time for maximum resistance to scraping. A quick fingernail test immediately after the primer is touch dry does not fairly represent its cured bond.
If the old coating is peeling, keep investigating. A new primer can adhere to the loose layer while that layer separates from the door. If a plastic wrap is lifting or the substrate has swollen, the decision may be repair or replacement rather than another coating product.
Make one representative test before committing the kitchen
Choose a spare door or a discreet area that represents the actual surface. If the kitchen contains more than one substrate, test each one. A test on a flat wood offcut will not reveal adhesion to the laminate edge or contamination around an old handle.
Clean with the coating manufacturer's permitted method, remove residues as directed and let the surface dry. Complete the specified repairs and preparation. Then apply the proposed primer and finish at the recommended film thickness with the intended applicator. Record the product names, coat times and room conditions.
Inspect both a flat area and a profile. Look for poor wetting, a cratered surface, bleed-through, lifting at edges, runs in corners or an unacceptable amount of grain texture. Decide whether that texture is acceptable before assuming another finish coat will fill it.
Allow the product's stated development time before judging adhesion or returning it to service. Use the manufacturer's recommended assessment rather than an improvised destructive test on a fresh film. If the system fails, identify whether the failure is between coats, at the old finish or in the substrate. More topcoat is rarely an answer to an unstable lower layer.
Separate dry time, recoat time and return to use
Touch-dry, ready to recoat and ready for normal use are separate milestones. Follow the product's stated conditions and handling guidance for each. A recoat interval tells you when another coat can be applied; it does not establish final hardness, readiness for cleaning or resistance to pressure from closed doors.
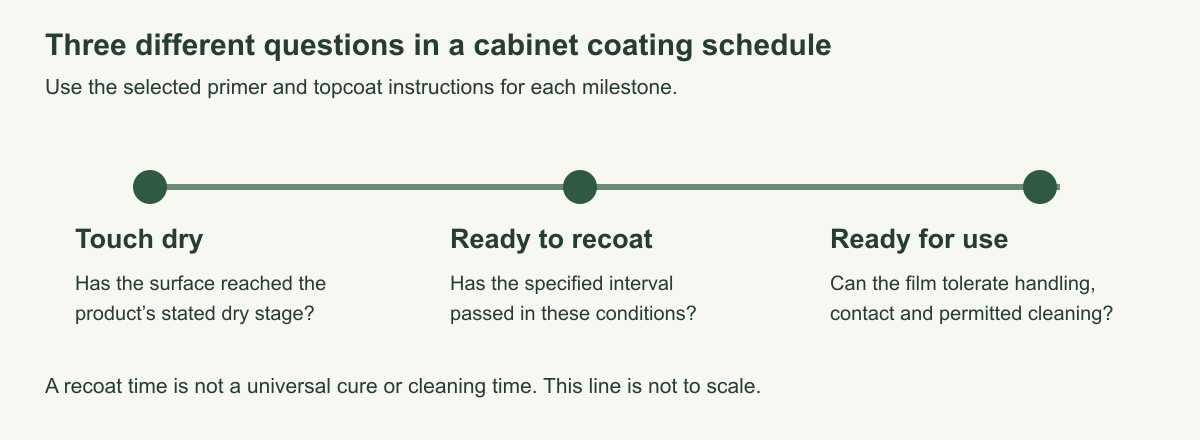
Plan storage accordingly. Support doors without marking the freshly painted faces, allow the required air movement and keep dust-generating work away. Do not stack painted doors face to face simply because the first surface feels dry.
Before rehanging, check the product's handling guidance and avoid trapping soft coating under hardware, bumpers or tightly closed contact points. After rehanging, maintain the specified wait before washing or subjecting surfaces to heavy use. Cool or damp conditions can extend the schedule; applying extra-heavy coats can also change the result.
If a deadline cannot accommodate the full system, reconsider the program before painting. Choosing a shorter recoat product may help, but it does not turn every cabinet refinishing job into a same-day return to service.
Choose sheen and application for the result you can maintain
Compare the actual satin or semi-gloss finish on the test, not just the wording on the can. Light falling along the door can reveal ridges, repairs and grain differently from light facing it. The same color can look different on a flat slab and a deeply profiled door.
The application method also needs to suit the workspace and product. Brushing and rolling avoid some of the equipment and overspray arrangements required for spraying, but still need controlled film thickness and careful work at corners. Spraying is not a shortcut around preparation, ventilation or the coating's safety instructions.
Do not add a clear topcoat by default. It creates another compatibility, sheen and maintenance decision. Use one only if the coating manufacturer approves the complete system for the application.
Cabinet paint questions
Which paint is the most durable?
These manufacturer documents do not provide a single like-for-like comparison proving a universal durability winner. Select a cabinet-suitable system, prepare the actual substrate and allow its development time. A claimed ranking without consistent test conditions does not establish how it will behave on your doors.
Is paint and primer in one enough?
Do not treat that phrase as an answer to adhesion, tannin bleed or exposed porous edges. Follow the selected product's substrate-specific instructions. An old glossy finish and a bare MDF edge may need different preparation even on the same door.
Will paint hide oak grain?
Not necessarily. A colored film and a filled surface are different results. If a smooth, grain-free appearance is required, evaluate a compatible grain-filling and coating process on a test door before choosing it for the full kitchen.
Should I repaint a damaged wrapped door?
First resolve the failing wrap or substrate. Coating a lifting film does not restore its bond. Ask whether repair, replacement of the front or a different refinish system is appropriate before spending time on color coats.
What information should I take to the paint supplier?
Bring the substrate identification, photographs of the face and edges, the condition of the existing finish, the desired sheen, the application method and the available working time. Ask for the full primer/topcoat system and its current local data sheets. That is a better basis for choosing the best cabinet paint than asking for a brand name alone.