On this page
Clear the room, remove loose dust, clean the fixtures with products suited to their surfaces, and finish with the floor. Work from higher surfaces to lower ones and keep toilet-cleaning tools separate. The important decisions are which cleaner belongs on each finish, whether disinfection is needed, and which marks are damage rather than removable dirt.
A bathroom can contain glass, coated metal, ceramic, acrylic, natural stone and wood-based cabinetry within a few feet of one another. A spray that removes scale from one surface can damage the next. This guide gives you a complete cleaning order, a material checklist and a way to deal with stubborn deposits without treating every surface alike.

Start with the right cleaning supplies
Gather several clean microfiber cloths, a nonabrasive sponge, a soft detail brush, a toilet brush, a squeegee, a floor mop, a bucket and gloves suited to your cleaning products. Keep a separate cloth or disposable cleaning material for the toilet exterior. You also need a dry duster or suitable vacuum attachment for loose hair and dust.
Choose a mild cleaner approved for the main surfaces in the room. Add a glass cleaner, toilet bowl cleaner or material-specific cleaner only where needed. More bottles do not automatically give you a cleaner bathroom. Each additional product introduces another compatibility check, particularly where runoff can reach a different finish.
Read the surface directions, ventilation instructions and protective-equipment requirements before starting. Keep products in their labeled containers. Never mix bleach or another disinfectant with another cleaner. That includes adding an acidic descaler to a surface that still carries bleach residue. CDC guidance explains why cleaning products must remain separate.
Choose cleaners by surface
Identify the material from the product paperwork or care guide where possible. Appearance alone is unreliable: a marble-look top may be natural marble, porcelain or an engineered surface, each with different care instructions.
| Surface | A suitable starting approach | What to check before stronger treatment |
|---|---|---|
| Ceramic or porcelain fixtures | Approved mild cleaner and a soft cloth or sponge | Decorative coatings, metal fittings and seat components may need different care |
| Acrylic bath or shower base | Cleaner labeled for that acrylic product and a nonabrasive cloth | Avoid assuming a cleaner approved for ceramic is also safe for acrylic |
| Natural stone | Neutral stone cleaner or a suitable mild soap solution | Acidic descalers, vinegar and abrasive powders can damage the stone |
| Faucet and shower finishes | The finish maker's cleaner, followed by the specified rinse and dry | A cleaner permitted on chrome may be unsuitable for a coated or specialty finish |
| Shower glass | Cleaner approved for the glass and any protective coating | Keep the product off nearby stone, seals and metal unless also approved |
| Mirrors | Apply approved cleaner to the cloth rather than flooding the mirror | Avoid liquid collecting at edges, frames or electrical components |
| Vanity fronts and cabinet edges | Care-guide-approved cleaner on a lightly dampened cloth | Prevent water from pooling at seams, cut edges, hardware and floor joints |
| Tile joints and silicone | Treatment approved for the joint material and adjoining surfaces | Crumbling grout, loose joints and failed sealant need repair rather than harder scrubbing |
The Natural Stone Institute's care guidance recommends neutral cleaning and warns that acidic products can etch stone. A sealer does not make every chemical safe. Likewise, Moen's finish-care instructions distinguish finish families rather than approving one cleaning method for all faucets. Treat these as reasons to identify your own material and finish, not as proof that another brand has the same specification.
Follow a cleaning order that avoids doing the work twice
This sequence keeps falling dust and dirty rinse water away from areas you have already finished. Complete one product treatment before introducing another; do not coat the whole bathroom in several different chemicals at once.
| Order | Area | Completion check |
|---|---|---|
| 1 | Loose items and textiles | Surfaces and floor are accessible |
| 2 | High surfaces and dry dust | Hair and dust are removed before wet cleaning |
| 3 | Mirrors and vanity | Glass is clear and cabinet edges are dry |
| 4 | Shower and bathtub | Cleaner residue is rinsed away and fittings are dry |
| 5 | Toilet | Bowl and exterior are cleaned with separate tools |
| 6 | Floor and bin | Floor is cleaned toward the exit |
| 7 | Final inspection | No standing water, residue or unresolved leaks remain |
Clear the surfaces and ventilate the room
Remove toiletries, the waste bin, bathmats and anything stored on the floor. Set aside towels and washable textiles for laundering according to their care labels. Open a window where practical and use the room's ventilation as appropriate for the products you are using.
Wipe the undersides of bottles and storage containers before putting them back. A clean counter quickly develops rings again if the containers return with soap or moisture underneath. Discard empty containers and clear away items that block access to faucet bases and corners.
Do not begin a deep clean over an active plumbing problem. A leaking supply connection, rising toilet water or sewage backing up requires attention first. Cleaning cannot correct the cause, and a fresh surface may conceal where the water originated.
Remove dry dust and hair before using water
Dust accessible shelves, the tops of cabinets, light fittings and the outside of the exhaust grille with equipment suited to the surface. Turn lights off and let fittings cool before touching them. Keep water and spray away from electrical housings.
Vacuum or sweep loose hair around the vanity, behind the toilet and along the room's edges. Wet hair sticks to surfaces and makes mopping more difficult. Work down toward the floor rather than wiping lower shelves before disturbing the dust above them.
An exhaust grille that needs removal should be cleaned according to its model instructions with power isolated as directed. Do not spray into the fan or dismantle an unfamiliar electrical unit as part of an ordinary cleaning session.
Clean mirrors and the vanity
Use a clean cloth for the mirror, separate from one carrying soap or oily cleaner. Apply cleaner to the cloth and wipe the glass in overlapping passes, then check it from the side for streaks. The American Cleaning Institute recommends keeping cleaner away from mirror frames and applying it to a cloth.
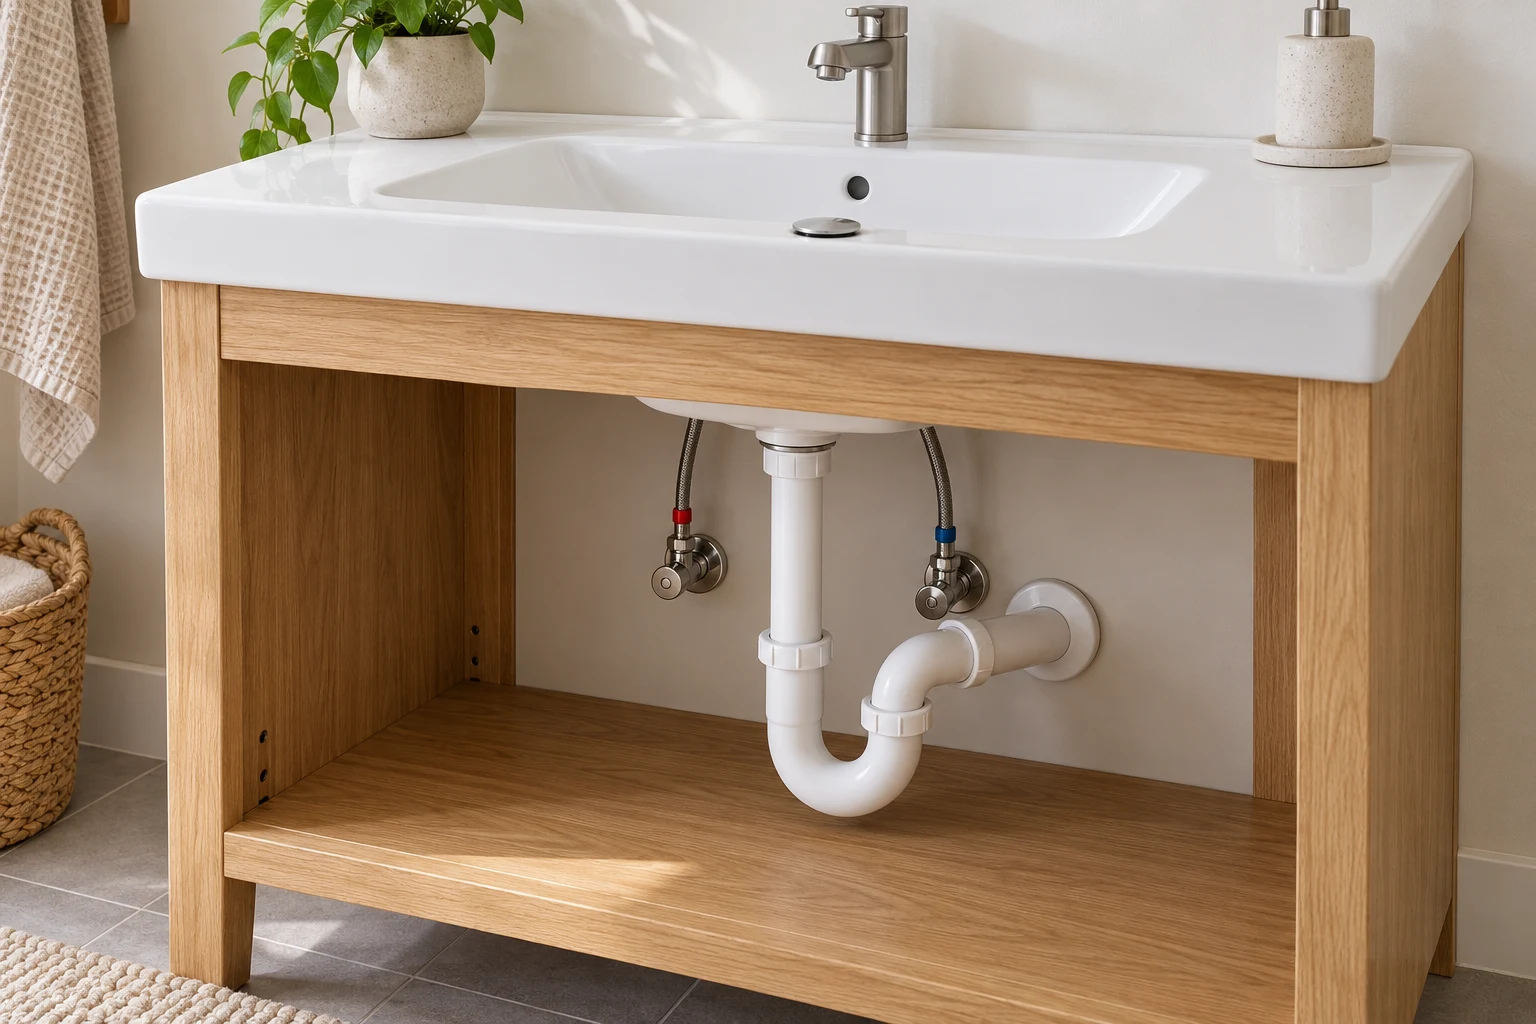
Clean the countertop and basin with the product selected for their materials. Work around the faucet base and overflow opening with a soft detail tool where the care guide permits. Remove accessible hair from the drain opening without pushing it farther down. Drain disassembly and blockage removal are separate tasks.
Wipe cabinet fronts, pulls and accessible interior ledges. Use a controlled amount of moisture, then dry seams and the bottom edges of doors. If the basin cleaner is not approved for the cabinet finish, clean those areas separately rather than letting basin runoff do the work.
Finish the faucet with its approved cleaning method. Rinse where required and dry the base, spout and handles. Water left around the base can make a clean fixture appear spotted again before the rest of the room is finished.
Clean the shower and bathtub
Remove loose items and accessible debris first. Work from upper wall surfaces toward the base so that dirty water is not repeatedly passing over finished areas. Use the material-approved cleaner at the label's concentration and for the permitted exposure time.
For ordinary soap residue, start with a soft cloth or nonabrasive sponge. Use a soft brush on suitable joints rather than a hard scouring pad across the entire enclosure. Kohler's acrylic bath care instructions illustrate why soaking, harsh abrasion and uncontrolled cleaner exposure are inappropriate for some bathing surfaces.
Rinse deliberately, including corners, tracks and ledges that collect cleaning solution. Keep water within the wet area; do not flood the vanity, doorway or an adjacent wood floor. Dry or squeegee suitable surfaces, and wipe residual drops from fittings.
Clean accessible showerhead spray faces according to the fixture instructions. Do not automatically tie a vinegar-filled bag around a finished showerhead. The product may restrict acid exposure, and the liquid can reach surrounding finishes that have different care requirements.
Clean the toilet with its own tools
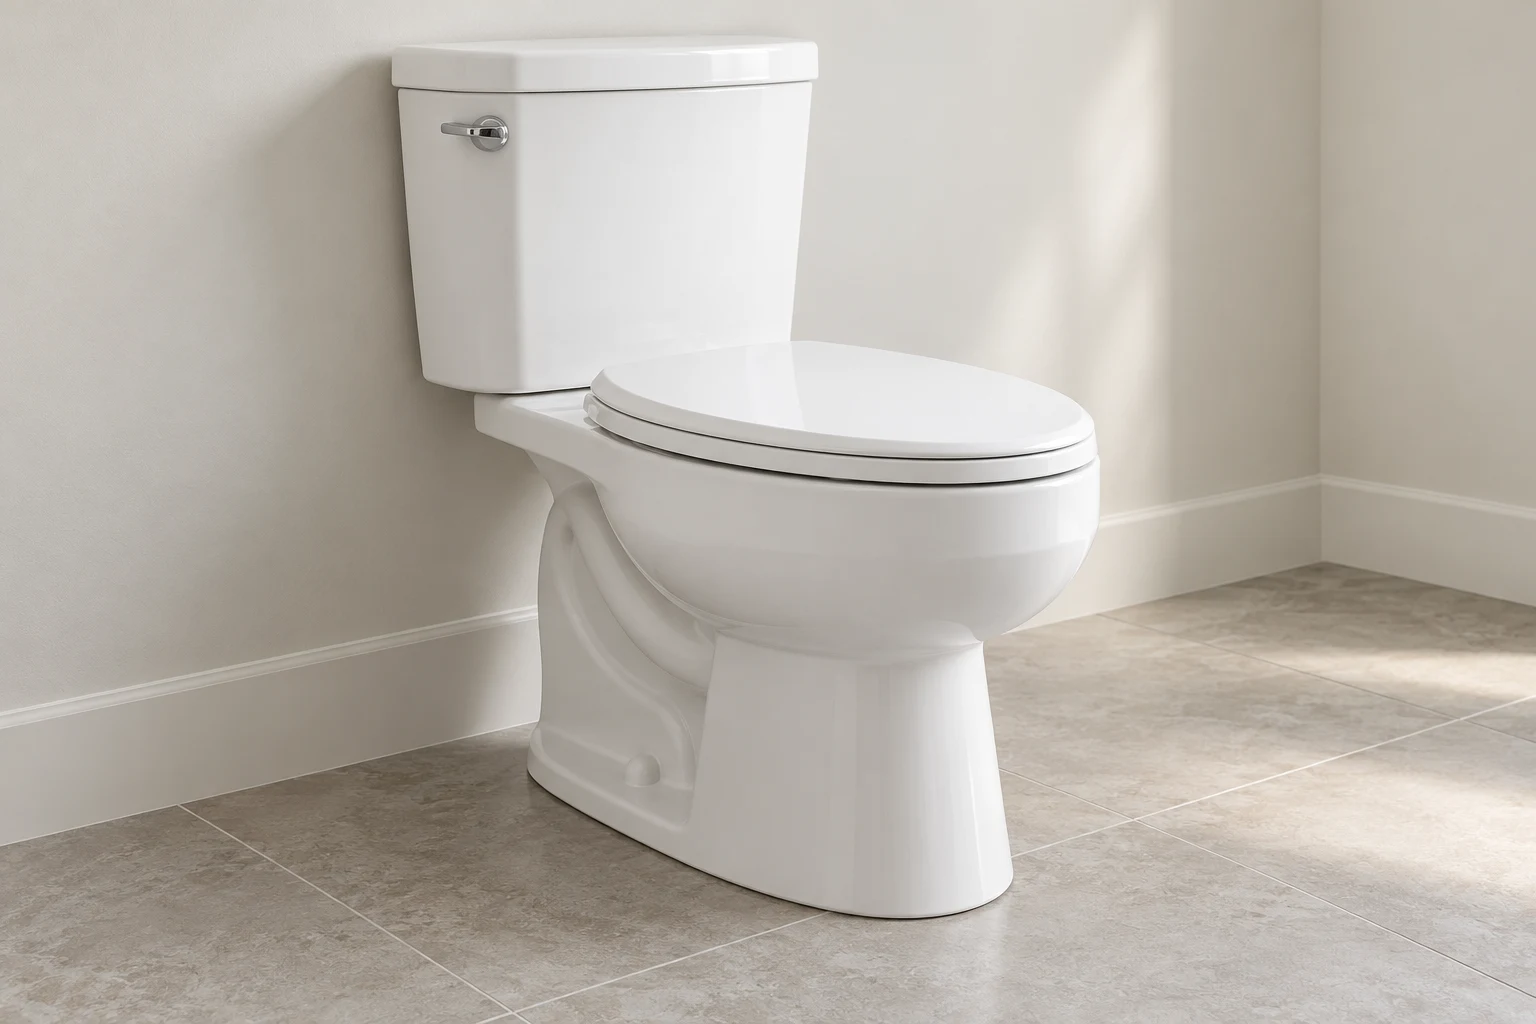
Use a bowl cleaner approved for the toilet, following its label for application and any required contact time. Brush the bowl and the accessible area beneath the rim, then finish as directed. Do not add a second cleaner to speed up the process.
Use separate cleaning material on the handle, lid, seat, hinges, outside of the bowl and accessible base. Work from the cleaner upper areas toward the lower exterior, changing cloths or wiping surfaces as necessary. Do not return a toilet cloth to the basin or countertop.
Check the seat's care instructions before using a bowl cleaner on it. The ceramic bowl and a plastic, painted or wooden seat are different surfaces. A product intended for one is not automatically suitable for the other.
Leave tank additives out unless the toilet and component manufacturers explicitly permit them. Kohler's product-care guidance warns that submerged cistern cleaners can prematurely affect internal seals and valve parts. If the toilet keeps refilling between flushes, investigate the leak rather than trying to treat the symptom with more cleaning product.
Clean the floor and waste bin last
Wipe the bin, including the lid and the area beneath its liner, using a suitable product. Clean behind the toilet and around cabinet feet with tools that can reach without scraping the surfaces.
Mop with a cleaner approved for the floor and its joints. Start at the far side of the room and work toward the exit. Change dirty water or pads rather than distributing the same residue across the room. Avoid leaving a heavily wet floor, especially around cabinet bases and thresholds.
Allow the floor to dry before replacing mats and containers. Keep ventilation running as appropriate, and wash or discard cleaning materials according to their own instructions. Store products securely after use.
Treat stubborn marks according to their cause
A mark that survives one normal clean does not always need a stronger chemical. Inspect it in good light before repeating the treatment.
A slippery or cloudy film often needs better removal of soap residue or cleaning-product residue. Repeat a compatible mild clean, rinse properly and dry a small test area. Adding more concentrate can leave more film.
A hard deposit around water contact points may be mineral scale. Use a remover approved for both the deposit and the exact surface. A strong descaler may remove the deposit while etching the stone or affecting the fixture finish beside it. Protect adjoining materials from runoff and overspray.
Darkened or damaged joints need a closer look. Surface dirt and a failing silicone joint are different problems. If discoloration returns quickly, sealant is separating or surrounding material stays damp, inspect the moisture source instead of repeatedly scrubbing the joint.
A dull patch that feels smooth may be etching or finish damage. Cleaning will not necessarily restore the original sheen. Stop escalating abrasion and ask the surface supplier about appropriate repair.
Visible mold associated with water damage, a hidden leak or a large affected area is beyond an ordinary bathroom reset. EPA guidance on mold cleanup emphasizes correcting moisture and choosing the cleanup approach for the extent of the problem. Do not paint or reseal over an unresolved wet area.
Disinfect only where the situation calls for it
Deep cleaning means reaching neglected areas and removing buildup. It does not require treating every surface with disinfectant. Routine soil removal and disinfection are different actions.
Disinfection may be appropriate when someone in the household is sick or a sick person has recently visited. First remove visible dirt. Select a product approved for the surface, follow its dilution and keep the surface wet for the label's stated contact time. A quick spray followed immediately by wiping may not meet those instructions. There is no single contact time for every product. CDC's cleaning guidance explains when cleaning alone is generally sufficient and when disinfection may be appropriate.
If a finish cannot tolerate the disinfectant or the required exposure, choose a compatible alternative rather than leaving a damaging chemical on the surface. More frequent use of an incompatible product does not make the room better maintained.
Use a final inspection to separate cleaning from repairs
Before returning the room to use, check that:
- Cleaner has been removed from edges, tracks and corners.
- Faucet bases, cabinet joints and the floor are dry.
- Mirrors and glass are clear rather than coated in residue.
- The toilet is quiet between uses and the base remains dry.
- No joint is loose, crumbling or separating.
- Bathmats are going back onto a dry floor.
Keep a short repair list for anything cleaning did not solve. Note the location and photograph it before another treatment obscures it. If a fixture or cabinet ultimately needs replacement, use the existing Bathroom Fixtures and Bathroom Vanities categories to compare the product types involved.
Common bathroom deep cleaning questions
How often should a bathroom be deep cleaned
Base the schedule on use and buildup rather than a universal promise. A shared bathroom that stays damp needs attention sooner than a lightly used guest bathroom. Routine wiping, removal of standing water and cleaning spills reduce what the next deep clean needs to address. Treat visible soil promptly rather than waiting for a calendar date.
Can one cleaner be used everywhere
Only if its label and every relevant surface manufacturer allow that use. Check the shower glass coating, metal finish, natural stone, acrylic and cabinetry separately. A product described as a bathroom cleaner is not necessarily approved for all of them.
Is vinegar a safe cleaner for the whole bathroom
No. Natural stone and some fixture finishes can be damaged by acidic products. Use vinegar only where the specific care instructions permit it, and keep it away from incompatible adjacent surfaces and other cleaning products.
What if the bathroom still smells after cleaning
Check the waste bin, washable textiles, accessible drain debris and any area that remains damp. A persistent sewage odor, repeated drain gurgling or a visible leak is a plumbing or moisture problem to investigate. Adding fragrance can hide the smell without resolving its source.
Does a clean surface have to smell of disinfectant
No. Smell is not a reliable completion test. Look for removed soil, properly rinsed surfaces, appropriate drying and correct use of any disinfectant that was actually needed. A strong lingering fragrance does not show that a product was suitable for the material or used correctly.