On this page
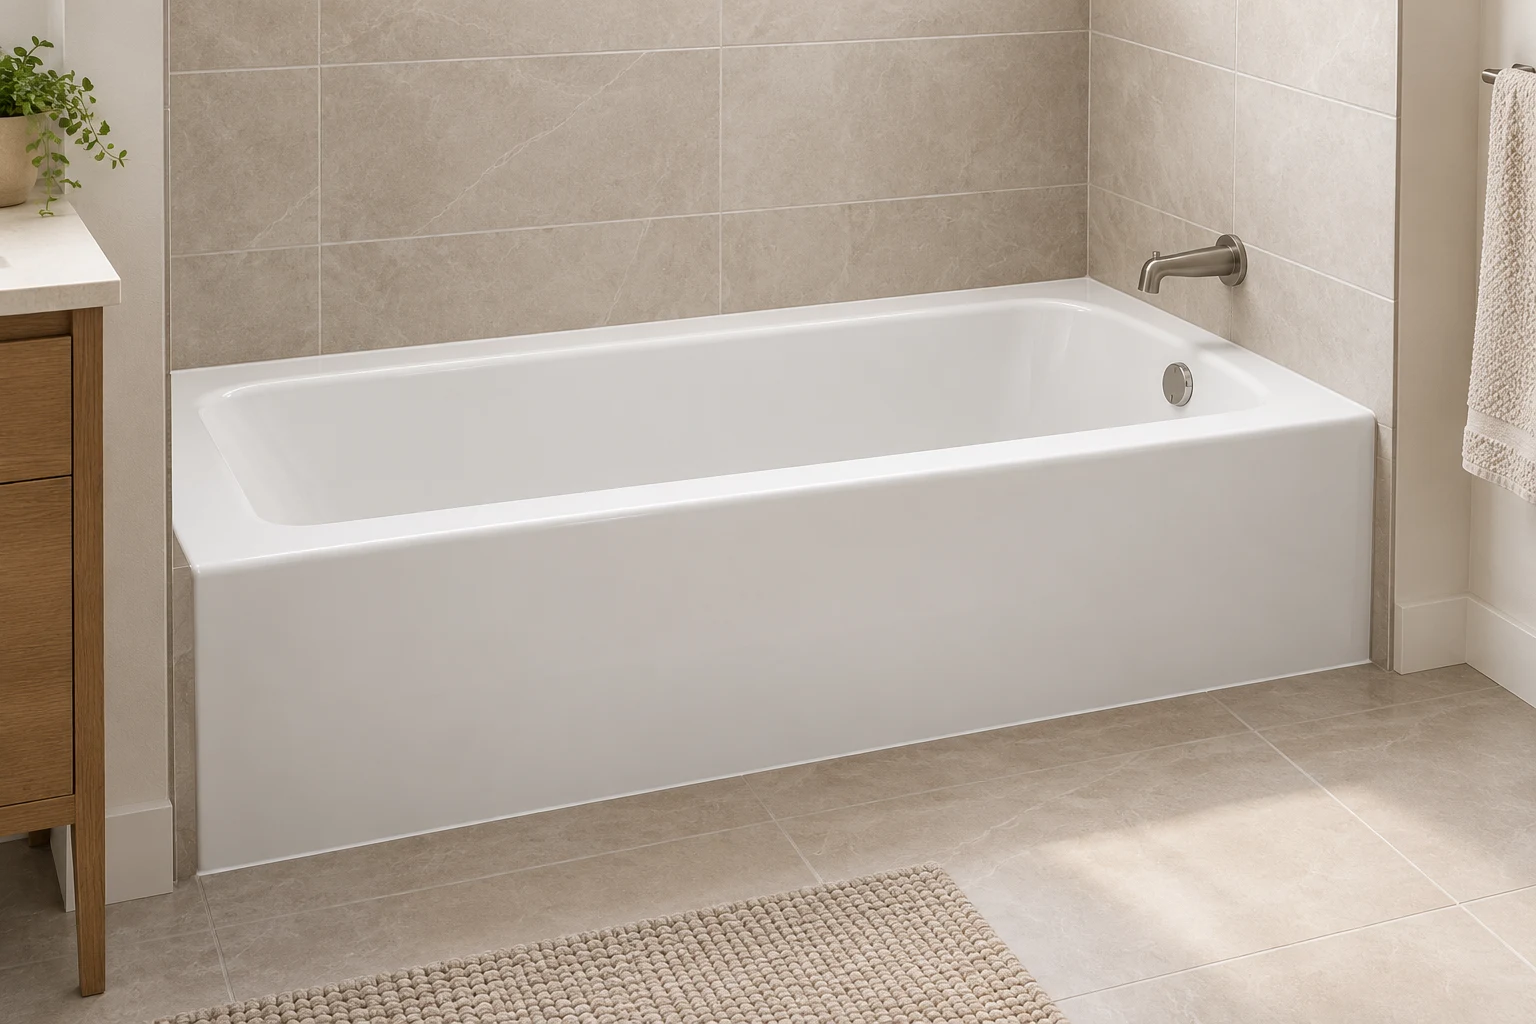
For a typical US alcove replacement, 60 inches long by about 30–32 inches wide (1,524 × roughly 762–813 mm) is a useful starting point. It is not a universal bathtub size. The exact outside dimensions, basin shape, rim height, drain position and installation opening belong to the selected model. A tub described as “five feet” can fit the room yet offer a very different bathing space from another five-foot tub.
Start with the installation type, then compare the outside envelope with the usable interior and water depth. The measurements below show how to avoid confusing those three different questions: Will it fit, will it feel comfortable, and how much water will it hold?
Use common sizes to narrow the search
The Home Depot bathtub buying guide describes a common US alcove bath as roughly 60 × 30 inches. That makes a five-foot alcove a reasonable place to start looking for a replacement, not a dimension to use for framing without the product drawing.
| Installation type | Useful starting point | Extra space the product size does not settle |
|---|---|---|
| Three-wall alcove | Commonly a five-foot bath; compare exact widths around 30–32 inches | Wall build-up, flange detail, apron position and drain access |
| Drop-in | Select the exact rim and basin size before designing the deck | Supporting deck, cutout, faucet position and service opening |
| Freestanding | Compare the full outside envelope and the usable basin separately | Cleaning access, filler reach, drain connection and circulation |
| Corner bath | Use the actual two-wall footprint and front curve | The curved front can project into the room differently from a rectangle |
| Walk-in bath | Start with the user's entry and bathing requirements | Door operation, seat layout, filling/draining system and service access |
Different markets use different product families. For example, the UK retailer Screwfix describes 1,700 × 700 mm as a common standard bath size. That is about 66.9 × 27.6 inches, not another name for a US 60 × 30-inch tub. Keep the original dimensions and units when comparing imported products.
A generic size chart cannot establish that a bath will suit a particular person or room. Use it to find possible models, then move to the model's drawing and installation instructions.
Separate outside size from bathing space

The overall length is measured from one outside end to the other. It includes the rim and the space taken up by the sloping backrest. The interior length at the bottom is usually shorter. The opening near the rim may be larger than the standing or sitting area at the bottom.
Two tubs can therefore have nearly identical outside lengths but different legroom. A steep backrest can leave more floor length while changing the sitting position; a long reclined back can occupy more of the shell. Armrests and sculpted sides also change the space available to a bather.

Compare three levels on the drawing:
- The outside length and width, which establish the shell envelope.
- The basin opening and bottom dimensions, which explain the usable shape.
- The section through the backrest and overflow, which explains posture and water depth.
If a showroom sample is available, assess the sitting position with permission and normal precautions. Notice where your back rests, whether your knees bend comfortably and whether the sides make entering or leaving awkward. A drawing can identify a promising basin, but outside length alone cannot prove comfort.
Compare real models on the same measurement basis
These manufacturer examples show why “standard bathtub dimensions” do not establish a standard bathing experience. They are KOHLER models, not NOVARMIA product specifications or a claim that these models are supplied in every market.
| Model and installation | Overall length × width × height | Listed water depth | Listed water capacity |
|---|---|---|---|
| Villager K-716, alcove | 60 × 30-1/4 × 14 in | 8-5/8 in | 33 US gal |
| Archer K-1123, drop-in | 60 × 32 × 19 in | 15 in | 58 US gal |
| Sunstruck K-6369, freestanding | 65-1/2 × 35-1/2 × 24-1/2 in | 15-3/4 in | 72.6 US gal |
The figures come from the manufacturer's current K-716, K-1123 and K-6369 specification sheets. Their dimensions are nominal; consult the drawing for the exact version being ordered.
The first two baths are both 60 inches long. Nevertheless, their listed water depths differ by more than six inches and their listed capacities differ by 25 gallons. Their shell heights also differ: 14 inches for the Villager and 19 inches for the Archer. There is no single standard bathtub height to apply to both.
The bottom-basin dimensions add another useful comparison. The Villager lists 45 × 22 inches; the Archer lists 45-1/8 × 19-11/16 inches. In these two models, deeper water comes with almost the same bottom length and a narrower bottom width. Depth alone therefore does not establish more legroom or a better sitting position.
The freestanding example is larger outside, but its listed bottom basin is 45-3/4 × 24-7/8 inches. Compare that usable space and the backrest with the other drawings rather than subtracting a fixed allowance from the outside length.
Read height and water depth as different dimensions
Overall height describes the product from its specified bottom reference to its top. Installed rim height also depends on the floor, supports, feet or deck arrangement. A dimension taken from the subfloor is not automatically the height above the final tile.
Water depth describes the vertical water level inside the basin, with its measurement boundary defined by the manufacturer. For many baths, the relevant limit is the overflow. A high rim does not mean water can be filled to that height. The basin bottom is above the floor, and the overflow is below the rim.
On a drop-in tub, also distinguish the tub's overall height from the deck's finished height. The deck structure, bedding and installation detail have to accommodate the actual product. Do not treat a decorative rim as a support ledge unless the manufacturer's instructions permit it.
Record these separately on a replacement project:
- Height of the current rim above the finished floor.
- Proposed tub height and the drawing's reference level.
- Listed water depth and the overflow position.
- Any deck, step, apron or bath-screen relationship affected by the change.
A deeper bath can change the entry movement as well as the amount of water around the body. Check both before choosing it solely for a larger depth figure.
How many gallons does a bathtub hold
Use the model's stated capacity and ask what that capacity measures. A catalog value is not a promise that every bath uses that many gallons. The bather displaces water, the chosen fill level may be lower, and the basin narrows or slopes instead of forming a rectangular box.
For US products, confirm that “gal” means US gallons when coordinating with equipment or suppliers in another market. One US gallon is about 3.785 liters. The manufacturer examples above list approximately 125, 220 and 275 liters respectively; keep the manufacturer's own listed liters when preparing a product schedule.
Do not calculate capacity from outside length × outside width × height. That calculation includes solid material, space above the overflow and areas outside the tapered basin. Even an interior rectangle gives only a rough geometric volume, not a dependable fill quantity for a shaped bath.
For hot-water planning, give the installer the selected bath's capacity, intended use and supply information. Filling performance depends on the water-heating system and actual delivery conditions. A deeper tub should trigger that coordination; it does not justify assuming the existing system will fill it in a particular time.
The filled condition also includes the bath, water and user, with loads transferred through the product's supports. Have the supporting floor and installation reviewed for the selected product. A catalog's floor-load note is not an engineering assessment of an existing bathroom.
Match the drain from two reference edges
“Left drain” or “center drain” is a useful filter, but it is not a complete rough-in coordinate. Record the drain center's position from two named edges on the manufacturer's plan, together with the drain assembly's vertical clearance.
For an alcove bath, identify the viewing direction used for left and right. Do not rely on a flipped product photograph. For a freestanding bath, a centered drain still needs a location in the actual bathroom, and the waste connection has to fit below the floor or shroud as shown by the installation instructions.
Lowe's bathtub guide emphasizes checking the old drain location when choosing a replacement. Matching the overall footprint does not guarantee that the new drain will land on the existing connection.
Place the faucet or filler on the same plan. Its spout must reach the intended area of the basin without conflicting with the rim, overflow or access for the controls. The hole arrangement and permitted mounting area also belong to the selected tub and faucet, not to a generic tub size.
Check the installation opening and delivery route
Measure an existing alcove at more than one height and position. Walls may not be parallel, and a tiled opening is different from the framing space used to install the original bath. Record which surfaces you measured instead of reducing them all to “60 inches.”
When walls will be rebuilt, give the installer the proposed wall build-up and flange detail. For a drop-in, use the manufacturer's cutout requirements and confirm the supporting arrangement before fabricating a finished deck. A rim's outside dimensions are not the cutout dimensions.
Next trace the delivery route from the unloading point to the bathroom. Check the narrowest clear door opening, stair turns, corridor corners and the room needed to rotate the tub. Packaging and protective handling can require a different envelope from the bare product. Confirm with the delivery team how the selected bath can be moved; do not assume it can safely be tipped, lifted by its rim or unpacked in a tight stairwell.
Use the same drawing to check the final room layout. Allow access to clean around a freestanding tub and to service the drain or equipment where required. Keep the bathroom door, adjacent vanity and any shower screen on the plan. Exact circulation and installation requirements have to be resolved for the project, rather than guessed from unused floor area.
Keep one bathtub measurement record
The most useful result of measuring is a record that someone else can interpret. Attach the current product drawing and give every dimension a unit and reference surface.
| Record | Information to retain |
|---|---|
| Product | Manufacturer, full model, revision and installation type |
| Shell | Overall length, width and height |
| Basin | Bottom dimensions, upper opening and backrest section |
| Water | Listed depth, capacity and the stated fill boundary |
| Room | Existing finished opening or proposed framing and wall build-up |
| Connections | Drain center from two edges, assembly clearance and filler position |
| Delivery | Clear openings, turns, handling plan and product/packaged dimensions |
| Installation | Support, deck/cutout, access and floor review for the selected model |
Compare possible forms in the Bathtubs collection, then make the final fit decision from the actual product drawing. The right replacement is the one whose shell, usable basin, connections and access all work in the same bathroom plan.