On this page
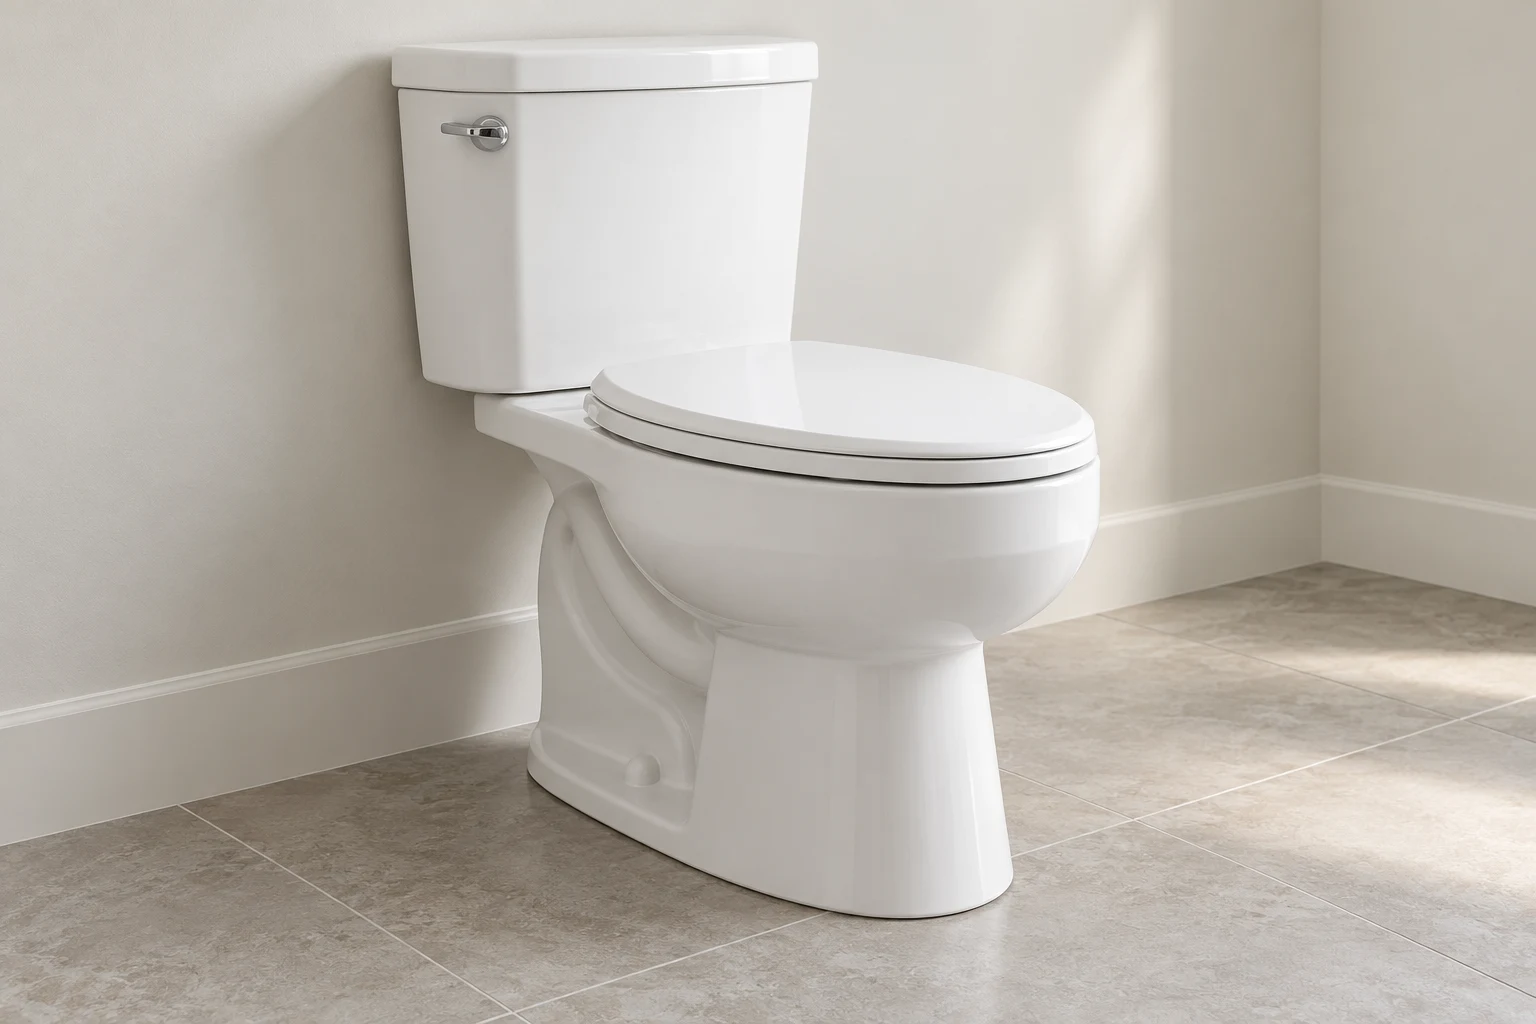
To compare toilet dimensions, record overall length, maximum width, total height, finished seat height and rough-in. These measurements answer different questions. Rough-in tells you where the waste outlet belongs; overall size tells you what the fixture occupies; clearances tell you whether there is room to use and service it.
A common US floor-mounted toilet uses a 12-inch rough-in, but 10- and 14-inch versions also exist. Do not choose a replacement by that number alone. Two toilets with the same rough-in can project different distances into the room, leave different space behind the tank and need different access around the water connection.
Measure the fixture and the room separately
Start a record with two sets of measurements. The first describes the existing toilet. The second describes the space around it. Keeping them separate prevents a common mistake: treating the outline of the current fixture as the maximum space available, without checking how the replacement sits relative to the drain.
| Measurement | Reference points | What it helps you check |
|---|---|---|
| Overall length | Back of the fixture to its foremost point | Product envelope and room projection |
| Maximum width | Widest point of tank, bowl or controls | Side obstructions and access |
| Total height | Finished floor to highest fixed point | Shelf, counter and tank-lid conflicts |
| Bowl rim height | Finished floor to the ceramic rim | Bare fixture height before the seat |
| Finished seat height | Finished floor to the top of the installed seat | Sitting and standing position |
| Rough-in | Finished rear wall to floor waste-outlet center | Compatibility with the waste location |
| Surrounding space | Fixture or centerline to the relevant obstacle | Actual layout and applicable clearance review |
Do not measure the tank width and assume it is the width of every part below it. A skirt, flushing control or angled water connector can create a different conflict lower down. Likewise, a shelf above the tank needs enough access for the lid and maintenance, not just enough room for the closed toilet.
Measure rough-in from the finished wall
For a typical exposed-bolt, floor-mounted toilet, measure from the finished wall behind the toilet to the center of the floor fixing bolts that align with the waste outlet. Measure above projecting baseboard so the trim does not shorten the reading. If the toilet has four bolt caps, identify the relevant rear pair rather than guessing from the front pair.
American Standard's replacement measuring guide explains these reference points and identifies 10-, 12- and 14-inch rough-ins. Its guidance also highlights supply valves and thick baseboards as possible conflicts with skirted replacements.

Record what you can actually identify. Concealed fixings, an unfamiliar outlet arrangement or a toilet tight against the wall can make an external measurement uncertain. Have the connection established before ordering a model that depends on it. Do not round an uncertain reading to the nearest catalog size and assume the installation will absorb the difference.
If the wall finish will change, account for its final position. A measurement from exposed framing is not the same as one from the completed tile surface. Retain both the measured existing condition and the proposed finish build-up for the installer.
Wall-hung toilets are a different coordination task. The bowl, carrier, concealed tank, wall construction and outlet all have to work together. KOHLER's toilet buying guide discusses the carrier's wall requirements separately from floor-mounted rough-in. A “12-inch rough-in” label is not a complete specification for a wall-hung assembly.
Round and elongated describe the bowl, not one fixed footprint

A round-front bowl is often useful in a short room. An elongated bowl gives a different sitting shape and commonly extends farther forward. Those are useful categories for narrowing choices, but neither category defines the full toilet length.
Compact elongated designs are an important exception to a simple round-versus-long rule. Their bowl shape can be elongated while the tank and body arrangement keep the overall footprint comparatively short. Lowe's comparison of round and elongated toilets recognizes this distinction.
Also distinguish a bowl or seat measurement from the whole fixture. A distance from the seat-mounting holes to the bowl front excludes the tank behind it. It cannot be substituted for the back-to-front overall length on the floor plan.
The following manufacturer examples make the difference concrete:
| KOHLER model | Bowl shape | Overall length × width × total height | Bowl rim height, excluding seat | Nominal rough-in |
|---|---|---|---|---|
| Wellworth K-3987 | Round-front | 27-3/4 × 18 × 29-1/4 in | 14-1/2 in | 12 in |
| Highline K-3999 | Elongated | 29-3/4 × 18-1/8 × 31-1/4 in | 16-1/2 in | 12 in |
| Adair K-3946 | Elongated | 28-5/8 × 16-3/16 × 28-1/2 in | 16-1/2 in | 12 in |
These are model-specific nominal dimensions from the original K-3987, K-3999 and K-3946 sheets. All dimensions in the table are inches; multiply by 25.4 for millimeters, so a 12-inch rough-in is 304.8 mm. The K-3999 sheet is retained here to compare model-specific dimensions. None of these reference products is a NOVARMIA stock claim or a universal size chart.
The width and height columns matter as much as length when a shelf or vanity is close. In these examples, the two 16-1/2-inch ceramic rims belong to fixtures with different total heights. The top of the tank and the top of the installed seat answer separate questions.
The two elongated models differ in length even though their rough-ins match. The round example is shorter than either, but its difference from the Adair is much smaller than its difference from the Highline. Compare actual drawings rather than automatically adding two inches whenever a bowl is elongated.
Check projection from the wall to the front
Overall fixture length is usually a product dimension measured from the back of the tank or body to the front. Room projection is measured from the finished rear wall. A space behind the fixture can make those two dimensions different.
When the manufacturer's drawing provides the wall position and outlet center, use that installed relationship. Do not add the rough-in to the full fixture length; the outlet is already partway along the fixture. That would count much of the toilet twice.
For example, suppose a fixture's outside length is 690 mm and its drawing shows 20 mm between the finished wall and the fixture's back at the intended connection. The wall-to-front envelope is 690 + 20 = 710 mm. If the face of an opposite cabinet is 1,500 mm from that same wall, the remaining space in front is 1,500 − 710 = 790 mm before accounting for projecting handles or other obstacles. Compare that remaining space with the project's applicable requirements; the arithmetic does not change the manufacturer's installed position.
Use the resulting front position to check the door swing, opposite vanity and space for a person's feet and movement. Include the real face of the obstruction: a cabinet handle or projecting radiator may be closer than the wall behind it.
Keep bowl height and seat height separate
The ceramic rim is not the finished sitting surface. A seat adds height, and a replacement seat or bidet attachment can change the result again. Compare finished seat heights when the decision concerns sitting and standing comfort.
Manufacturer terms such as standard height, comfort height and chair height help group products, but their exact definitions and measurement endpoints need checking. KOHLER's buying guide defines height at the top of the seat and describes most of its toilets as falling between 15 and 19 inches. A product drawing may instead mark the ceramic rim, so do not compare the two numbers as though they were the same dimension.
Consider the actual users. A higher seat can make standing easier for one person while leaving another person's feet less comfortably supported. Try the proposed seating position where possible, and include any planned seat accessory when recording the final height.
For an accessible project, seat height is only one part of the requirements. The US Access Board's ADA Standards, section 604, specify a 17–19-inch seat-height range in the general provision, with stated exceptions and additional requirements for the space and its use. A “chair-height” label does not establish that an entire installation complies, and that US provision should not be presented as a universal requirement for every home or country.
Review clearances on a complete bathroom plan
Toilet clearance is the space around the installed fixture, not empty space inside its shipping box. Identify the reference required for each check: some dimensions are measured from the toilet centerline, others from the front of the bowl, and others concern doors or approach areas.
Start with a plan containing the finished wall faces, toilet centerline and actual product outline. Add the vanity, shower screen, bath, radiator, door and anything else that projects into the space. Check with the door open and closed; a door that clears the ceramic may still interfere with a user or a required access area.
Have the designer or installer apply the requirements that govern the actual project. Required dimensions vary with the jurisdiction, building use and accessibility provisions. Do not combine an ordinary residential recommendation with a dimension from an accessible public toilet and label the result “standard toilet room dimensions.”
For accessibility work, the Access Board source shows that side position, clear floor space, grab bars, controls and dispensers are coordinated requirements. Choosing a compliant fixture does not authorize shrinking the surrounding space. Keep that review attached to the project plan rather than reducing it to one front-clearance number.
Coordinate the supply and nearby accessories
Locate the existing water supply valve on the plan and elevation. Record its distance from the toilet centerline and its height above the finished floor. Then compare those coordinates with the proposed body, skirt and connection arrangement.
An accessible valve and a workable connector path matter even when the drain and overall toilet size match. Leave the access needed by the installation instructions rather than treating a hidden connection as proof that any position will work.
Position the toilet paper holder after the toilet's installed front and finished seat height are known. A floor-height number alone does not establish comfortable reach; its distance forward of the bowl, projection, roll-changing space and relationship to grab bars also matter. For an accessible installation, use the applicable dispenser provisions, such as section 604.7 of the US ADA Standards where those Standards govern. Do not transplant a household styling preference into a compliance drawing.
For shelves and furniture around the toilet, check the tank lid's removal path and the ability to reach service parts. A close-fitting shelf can look neat in elevation yet make an otherwise ordinary repair unnecessarily difficult.
Record weight for handling separately from dimensions
There is no single weight attached to “a standard toilet.” Materials, one- versus two-piece construction and supplied components change the handling task. Obtain the selected model's dry product or component weights, and distinguish those from shipping weight with packaging.
A two-piece toilet may have separate bowl and tank cartons; a one-piece fixture is a different load to move through a narrow doorway. Give the delivery or installation team the actual weights and route. Do not estimate lifting requirements from the bowl shape or assume that removing a tank is possible on a one-piece toilet.
Bring one measurement packet to the final selection
Retain the existing rough-in reading, its reference wall and any uncertainty. Add the proposed product's drawing, full model, seat choice, overall envelope, supply location and final bathroom plan. Include any wall or floor finish changes.
Before placing the order, the packet should answer four practical questions: Does the outlet match, does the installed fixture fit, can the intended users use it comfortably, and can it be installed and maintained with the required access? Browsing the Toilets collection can narrow the product type. The actual drawing and completed room measurements settle the fit.