On this page
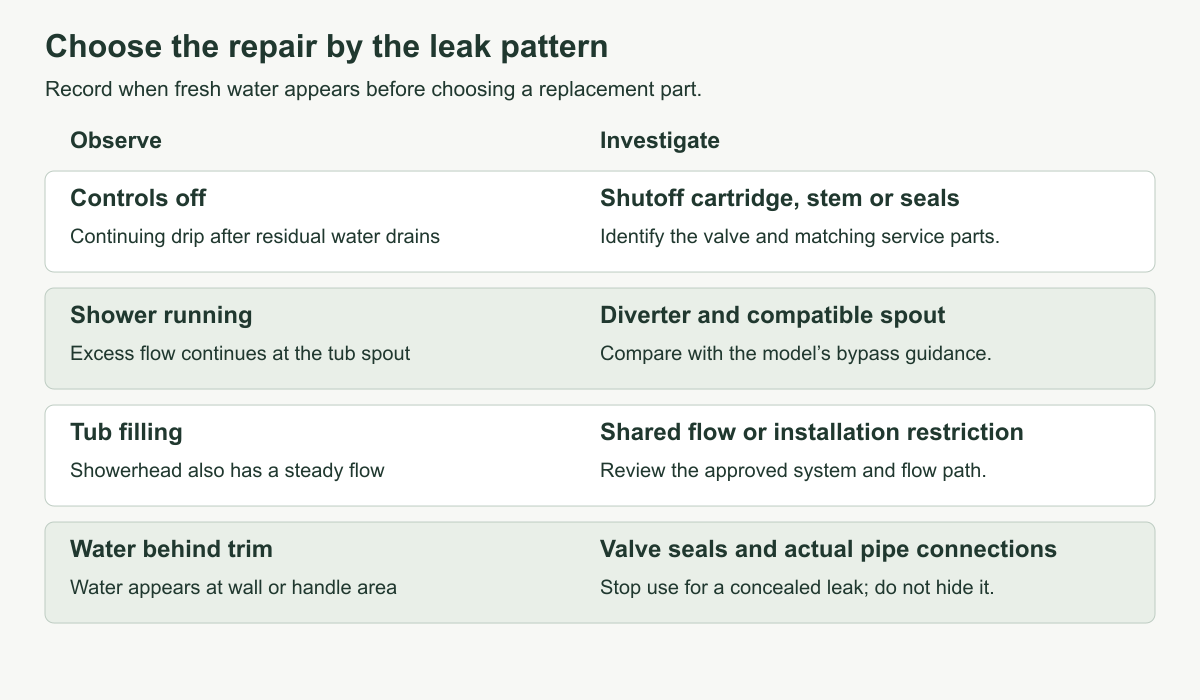
To fix a leaky bathtub faucet, first establish when and where it leaks. A spout that keeps dripping after the controls are off usually points you toward the valve's cartridge, stem or sealing parts. Excess water escaping from the tub spout only while the shower runs points toward a diverter problem. Water appearing behind the trim or at the wall connection needs a different inspection. Buying a new visible spout will not correct every one of these faults.
The useful repair sequence is diagnosis, identification, water isolation, the matching part replacement and a controlled leak check. This guide explains that sequence for serviceable tub faucets and distinguishes it from replacing concealed valves, pipework or an entire tub filler.
Observe the leak before removing a handle
Dry the outlet, handle area and accessible wall surfaces. Operate the controls briefly, then turn them off normally. Watch where fresh water first appears. Water left inside an outlet can drain after shutoff; a continuing drip after that residual water has cleared is a different observation.
For a combined tub and shower, check tub-filling and shower modes separately. Do not use either mode if water is leaking into the wall, floor or ceiling below.
| What happens | Area to investigate | What not to assume |
|---|---|---|
| Water continues from the outlet with the controls off | Cartridge, stem, seats, seals or the handle mechanism | The spout's diverter is the main shutoff |
| Too much water remains at the spout when shower mode is selected | Diverter and the spout assembly specified for that system | Every small bypass flow means the same part has failed |
| Showerhead flows while the tub is being filled | Shared flow or installation restrictions | A new shutoff cartridge automatically corrects it |
| Water appears around the handle, behind trim or where the spout meets the wall | The actual seal, valve or pipe connection | Caulk applied outside is a plumbing repair |
Moen's troubleshooting guidance relates outlet leaks to cartridge seals and, on applicable products, the handle mechanism. Its first requirement is identifying the model. That is a more useful next step than selecting a cartridge because its photograph looks similar.
Write down whether the leak occurs with the controls off, during tub filling or during showering. Take a short video if the symptom is intermittent. This record can also prevent a replacement-parts conversation from confusing a failed shutoff with a failed diverter.
Identify the valve and its service parts
Find the brand, installation record or model marking where available. Photograph the handle, trim shape, screw positions and spout underside. If you can identify the valve behind the trim, use its own parts diagram rather than relying on the decorative finish name.
A single handle may control a cartridge retained by a clip, nut or another fastening system. Two handles do not automatically mean old compression washers: some two-handle faucets use cartridges. An older compression design may instead need the correct washer, stem packing or serviceable seat. A three-handle arrangement can include a separate diverter.
Do not buy replacement trim before confirming compatibility with the concealed valve. Matching screw spacing or a similar handle shape is not enough. Keep a note of hot and cold positions, model revisions and any replacement-part number supplied by the manufacturer.
The Delta Monitor bath-valve instructions for specified 1430, 1460 and 1480 series illustrate why the diagnosis must remain model-specific: their maintenance procedure distinguishes replaceable sealing parts from the cartridge assembly. Those part numbers and repair sequences belong to those valves; they are not a universal kit for bathtub faucets.
If identification requires removing the handle, isolate the water first. Do not remove a live cartridge simply to take it to a store. It is better to arrange the correct service information before leaving the water shut down and the valve dismantled.
Isolate the water and prepare the work area
Identify which shutoffs actually supply the tub valve. Many tubs do not have exposed fixture stops like a washbasin. A verified accessible service shutoff or the building's appropriate main control may be necessary. In shared or rented property, arrange this with the responsible person rather than operating an unidentified common valve.
Close both hot and cold supplies where they are separately controlled. Open the tub control to relieve remaining pressure and confirm that flow stops. A trickle that continues because a shutoff does not hold is not permission to continue dismantling the valve. Have the isolation problem addressed first, and do not force a seized shutoff with increasing leverage.
Cover the tub surface, close or cover the drain against falling screws, and lay out a towel for parts in removal order. Use the correct screwdriver or hex key so a small fastener does not become a stripped one. Keep the manufacturer's exploded drawing nearby.
For a deck-mounted Roman tub filler, identify the access panel and the hoses or connections beneath the deck before assuming the repair is entirely above it. If a new faucet requires inaccessible fittings to be disconnected, the project has gone beyond changing a cartridge through the existing trim.
Repair the shutoff component that matches the valve
Remove the handle and trim without turning the pipework
Use the fastening method shown for the model. A screw can be behind a decorative cap or under the handle; a cap may lift, unscrew or use another retention method. Release the fastener rather than using the handle as a lever.
Remove only the trim needed to reach the service part. Photograph each layer, including spacers, sleeves and the position of the cartridge. Keep small parts out of the drain and protect the waterproofing around the opening.
If a corroded handle or nut will not release by the approved method, stop before transferring force to a concealed pipe or valve body. The damage caused by twisting that connection can be much larger than the original drip. A manufacturer-approved puller, where specified, is different from gripping an unknown cartridge with stronger pliers.
Replace a compatible cartridge or sealing kit
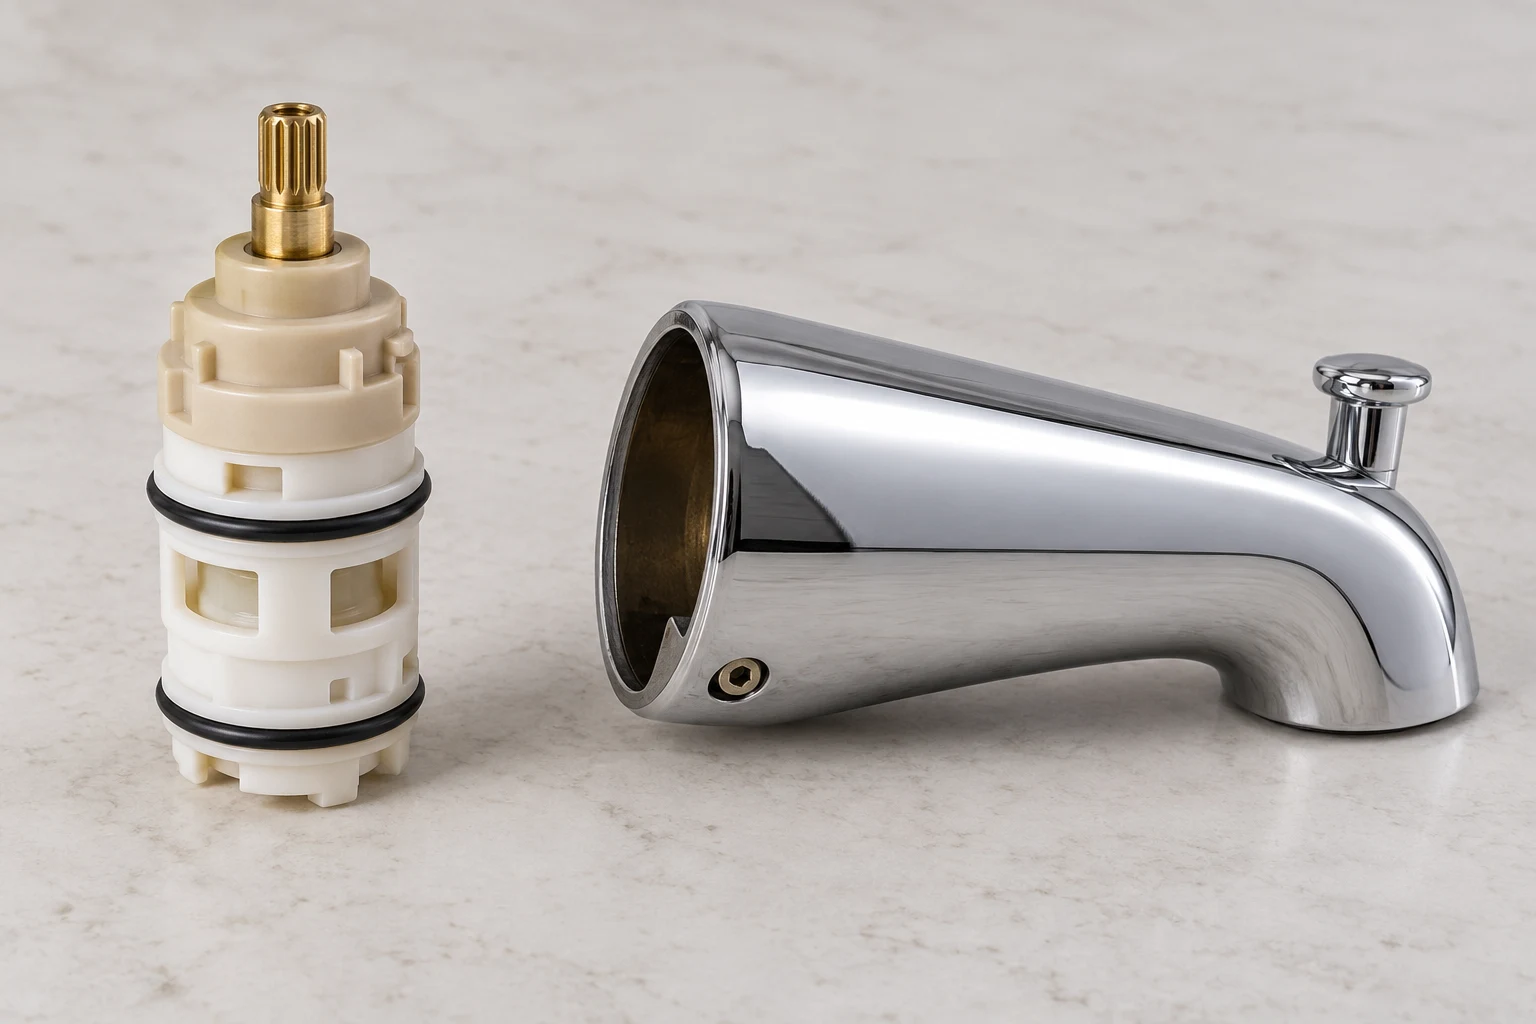
With water isolated and pressure released, remove the cartridge's actual retainer in the specified order. Withdraw the service part as directed and keep track of its orientation. Some systems contain separate seals or balancing components that are not all removed together.
Inspect the accessible sealing area for debris or visible damage. Clean it only by the permitted method. Do not scratch a valve bore with a metal pick, sand its sealing surfaces or add sealant to compensate for the wrong cartridge.
Fit the matching service part, including the seals supplied or specified for that repair. Use only a compatible lubricant where the instructions require one. Seat the cartridge in its correct orientation and reinstall its retainer completely before restoring the water.
Do not borrow a tightening instruction from another valve. For example, Moen's M-Core leak guide has assembly and compression checks for that particular system. It does not establish the torque or fastening method for a different cartridge or an old compression stem.
Service a compression stem only if that is the actual mechanism
A compression stem can close against a washer and seat. With the supply isolated, inspect the removed stem and use the correct washer and other specified seals. A damaged seat or stem can remain a leak path even after fitting new rubber.
Whether a seat is removable, and how it is serviced, depends on the valve. Do not force a seat wrench into an unfamiliar opening or grind a sealing surface as a generic next step. If the correct replacement or repair method is unavailable, get the valve assessed instead of improvising a stack of washers.
This distinction also matters when purchasing parts: a repair suitable for a compression mechanism does not convert a cartridge faucet into one. The aim is to restore the existing valve's intended seal and movement.
Treat a diverter problem separately from an off position drip
The diverter sends flow toward the shower. It is not necessarily designed to act as the system's positive shutoff. If the spout drips continuously with the water controls off, return to the shutoff valve diagnosis first.
If the problem occurs only in shower mode, compare it with the manufacturer's description of normal bypass. Delta's tub-spout guidance says a small stream can occur in the systems it describes, while excessive flow can indicate a failed spout diverter. Do not turn that description into an allowable flow specification for every brand.
Some diverters have serviceable parts; some require the compatible spout assembly to be replaced. A separate wall-mounted diverter needs its own identification. Check what the manufacturer actually services rather than assuming any new pull-up spout will work.
Water from the showerhead while the tub fills is another pattern. Moen describes this shared flow as stacking, particularly in new installations. It can call for checking the approved installation and flow path. Do not try to solve it by adding random restrictions or changing hidden piping without the system instructions.
Check the connection before replacing a tub spout
First determine whether the spout uses a slip-fit connection with a set screw, threaded attachment or a proprietary adapter. Look underneath with a light. Do not start twisting a slip-fit spout before releasing its actual fastener.
For a slip-fit design, inspect the pipe and sealing area for damage, deposits and the dimensions required by the replacement. A scratched sealing surface or an incorrectly prepared end can prevent the new spout from sealing. For a threaded design, establish where the thread and adapter are and how the replacement is intended to attach.
Match the connection type, required pipe projection, adapter and diverter arrangement. The length of the visible spout alone does not describe these details. The Home Depot's faucet-replacement guide usefully separates slip-on and threaded spouts; the product instructions still determine the actual fit.
Install the replacement with its specified seals and thread treatment. Do not apply thread tape to a slip-fit sealing surface or use adhesive to hold an incompatible connection together. Avoid tightening against the wall to disguise a spout that does not fit the stub-out. Finish the wall joint as directed while preserving any drainage provision the design requires.
If the pipe itself moves, leaks at the wall or needs to be shortened, extended or disconnected behind the finished surface, arrange that plumbing work separately. Turning a visible fitting can otherwise loosen a concealed connection that cannot be inspected from the tub.
Test shutoff, both operating modes and temperature control
Confirm that the cartridge or stem retainer is secure, that required parts are in place and that the handle is fitted sufficiently to operate normally. Restore the supply slowly while staying clear of the outlet. Inspect the accessible valve area and spout connection before finishing the trim where the service instructions allow.
Run cold and mixed water into the tub, then operate shower mode if fitted. Check for water at the handle, escutcheon and spout base as well as at the intended outlet. Turn the controls off and observe whether the original continuing drip has returned after residual drainage.
A successful shutoff repair must also leave the controls working properly. Check correct hot and cold operation and follow the model's temperature-limiting adjustment and verification procedure. Measure the outlet temperature with a suitable thermometer as the valve instructions direct; do not use your hand to judge whether its maximum setting is safe. The Delta instructions cited above explicitly require the installer to set that system's limit correctly. Do not assume that a newly installed cartridge automatically establishes a suitable maximum temperature, or adjust the water heater as a substitute for the valve's required setup.
Stop if the handle moves abnormally, the outlet temperature behaves unexpectedly, a retainer is insecure or water appears where it should not. Re-isolate the supply and resolve that problem before returning the fixture to use. Refit trim and check the area again after normal operation; an external cover can hide a small leak during the first test.
When a new cartridge does not stop the leak
Recheck the diagnosis rather than tightening everything harder. Confirm the exact service-part match, orientation, seals, retainer and handle travel. An incorrectly assembled handle can prevent full closure even when the internal part is sound.
If the correct part is properly installed and the leak continues, the valve body or another sealing surface may need assessment. If only shower-mode diversion remains poor, investigate the diverter branch instead. A leak at the spout-to-pipe connection is also not proof that the shutoff cartridge failed again.
Keep the old parts and the packaging until testing is complete. The model, service-part number, symptom video and result of each check make a focused repair request possible. A quotation can then distinguish accessible cartridge work, a spout connection repair and concealed valve replacement instead of treating all three as the same job.
Common bathtub faucet repair questions
Will replacing the tub spout stop a continuous drip
It can correct a fault in the spout or its connection, but it usually does not repair the valve that is allowing water through with the controls off. Identify that water path before choosing the visible part.
Should I tighten the handle harder to stop it dripping
No. Operate it normally and investigate the sealing mechanism and handle travel. More force can damage the handle or mechanism without repairing the seal.
Can I replace just the trim with another brand
Only if the manufacturer confirms compatibility with the actual concealed valve. Decorative trim is not interchangeable merely because it covers the opening or uses a similar handle.
When does this need a plumber
Get help when the water cannot be isolated, a part is seized, the concealed connection moves, there is water behind the wall or below the tub, or temperature control cannot be correctly restored. Also get the valve assessed if a properly matched accessible repair does not correct the diagnosed leak.