On this page
Inset cabinets are worth the extra fitting and review when a door face flush with its surrounding frame is an important part of the approved design, and the project will control door dimensions, operating gaps and maintenance. Overlay doors are the better choice when that flush detail brings little value to the brief. They still need accurate hinges and clearances, but the door does not have to fit inside the frame opening.
Make this decision on the same cabinet construction. This article holds a face-frame box constant and changes only the position of its door. It distinguishes full overlay from partial overlay and uses a filled example to show what the buyer must approve.
Inset, full overlay and partial overlay describe different relationships
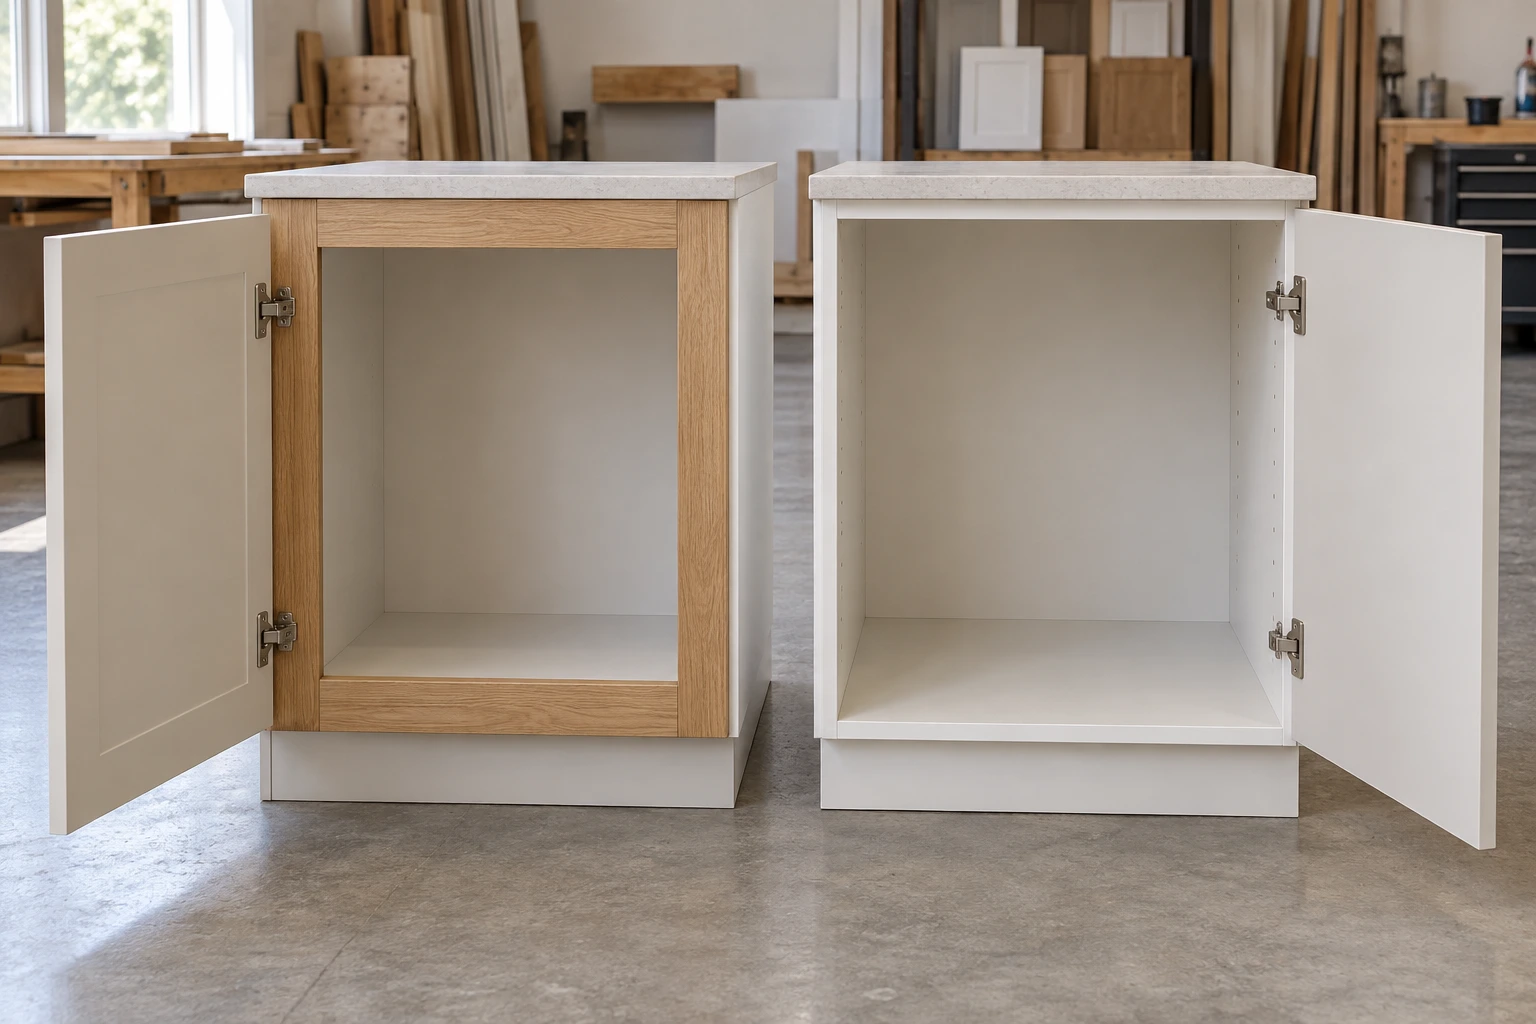
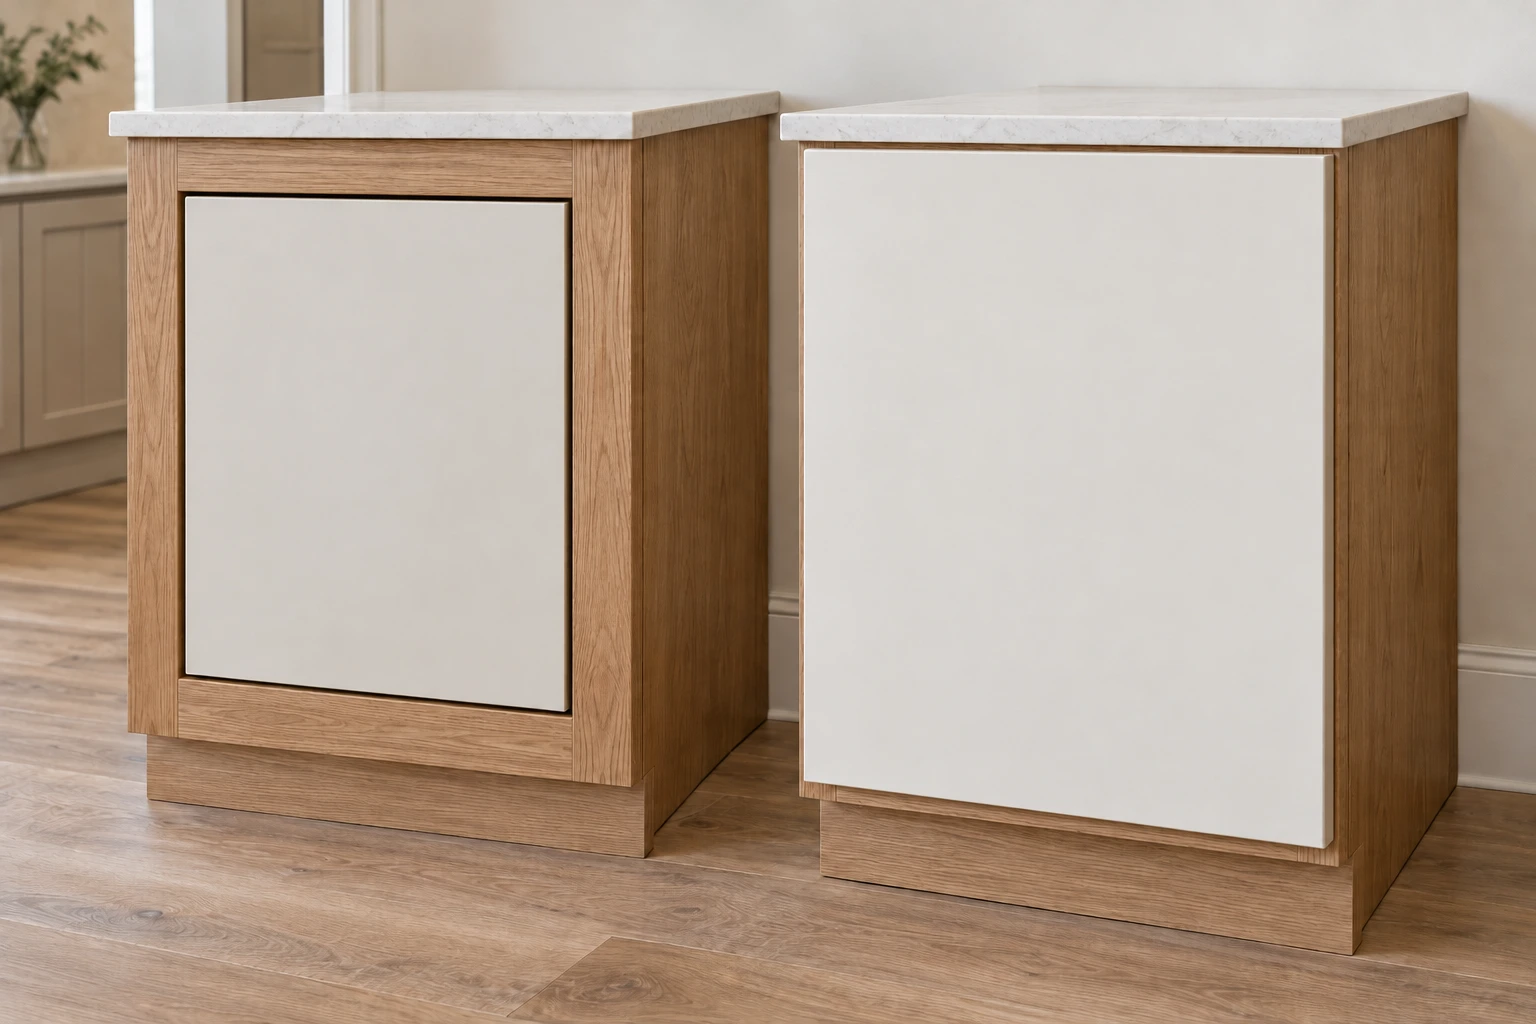
With a flush inset arrangement, the closed door sits within the frame opening, with its face aligned to the frame face. The visible space around it is the reveal or gap. With overlay, the closed door sits in front of the frame and covers part of it. The amount it covers beyond the opening edge is the overlay.
- Inset: the door perimeter must clear the opening throughout movement, while the closed face reaches the specified plane.
- Full overlay: the door covers most of the face frame in the intended elevation, leaving the specified exposed borders and adjacent gaps.
- Partial overlay: the door covers less of the frame, leaving a wider visible border. Write the actual overlay on the drawing; “standard overlay” alone is not a dimension.
A narrow gap between neighboring doors is not proof that they are inset. Look at a section or an open door and identify the frame face. Lipped or rebated doors can combine relationships and should be drawn as their actual section rather than silently treated as the flush inset option below.
Left: an inset front within a face frame. Right: an overlay front covering most of a face frame.
What the buyer gains, and what must be controlled
| Decision | Flush inset | Overlay |
|---|---|---|
| Design value | Leaves the surrounding frame visible and places the door face in its plane; useful where that joinery detail is central to the design. | Offers a door surface in front of the frame; full and partial coverage create different visible borders. |
| Dimensional constraint | Door width and height must fit inside the opening with the approved perimeter gap. | Door dimensions follow the opening plus specified overlay; adjacent doors and end conditions still limit coverage. |
| Movement check | Check the hinge-side sweep past the frame, the latch edge and the closed face position. | Check hinge-side clearance, neighboring fronts, handles and wall returns; covering a frame does not remove interference. |
| Fitting burden | Opening geometry, door size, hinge application, stops and face alignment all affect the finished result. | Correct overlay and neighboring gaps still require controlled boring, mounting and alignment; the front can conceal some frame edges. |
| Service requirement | Investigate binding or a lost reveal before trimming; record the original opening, door and hardware. | Investigate rubbing, uneven coverage or sagging before changing hinges or door size. |
| Reason to decline | The flush detail is not valued, or the supplier cannot demonstrate compatible hardware and controlled final gaps. | The selected coverage fails the intended frame appearance or creates unresolved clashes at adjoining elements. |
Do not turn this into a universal workmanship ranking. A well-specified overlay cabinet can demand close alignment across a long run. A well-made inset cabinet can operate satisfactorily when its door, frame and hardware are coordinated. The practical difference is the geometry the supplier has to deliver, not the prestige of a label.

F-12: turn the desired look into actual door dimensions
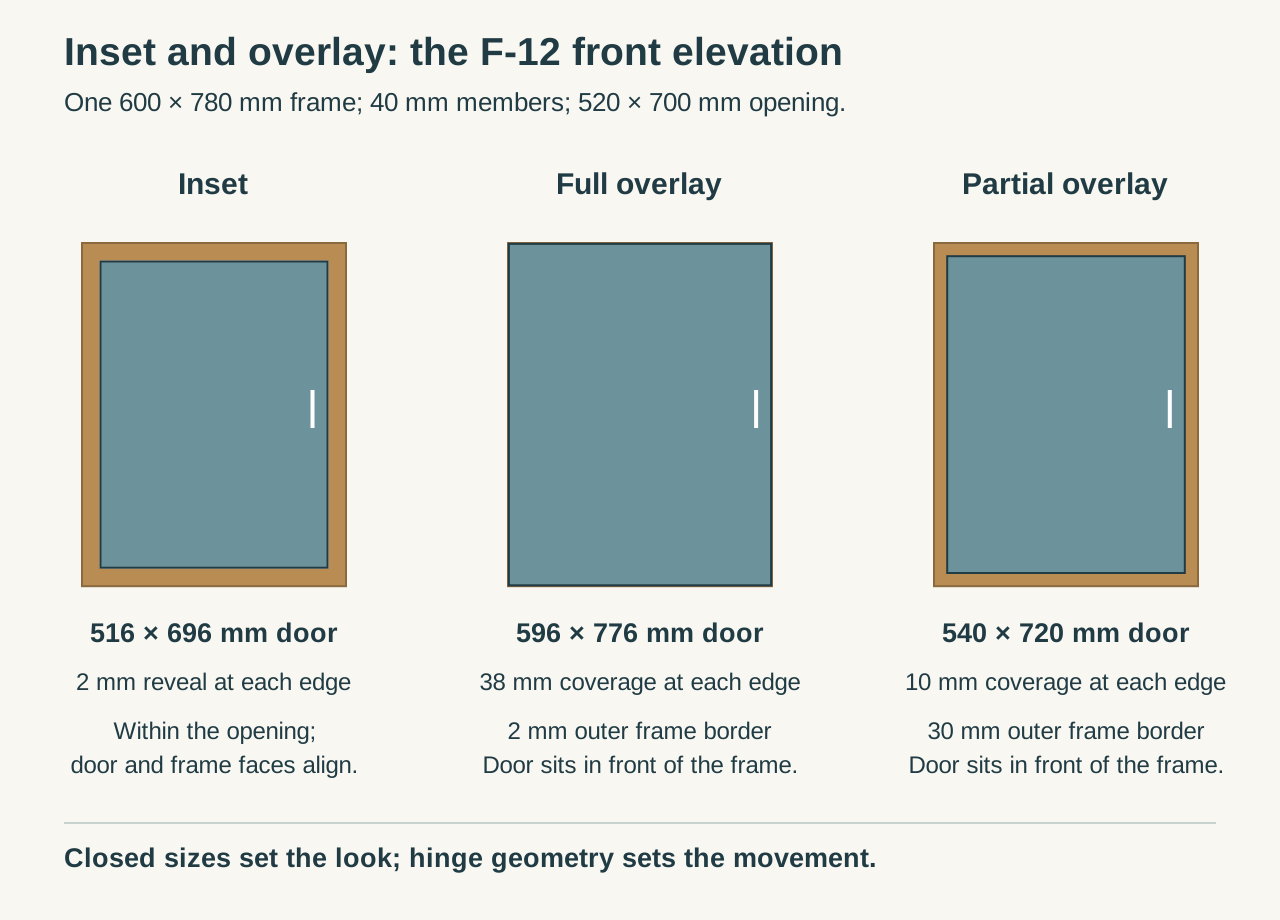
Assume one rectangular face frame measuring 600 mm wide by 780 mm high externally. All four members are 40 mm wide, so its clear opening is 520 × 700 mm. Compare single doors of the same proposed material and 20 mm thickness. The example uses a nominal 2 mm closed gap for inset, 38 mm coverage at each edge for full overlay, and 10 mm coverage at each edge for partial overlay. These are deliberately chosen design targets; the selected hinge and door profile must be checked before they are accepted.
- Inset door: width 520 − 2 − 2 = 516 mm; height 700 − 2 − 2 = 696 mm. It fits within the opening and targets a 2 mm reveal at each edge.
- Full-overlay door: width 520 + 38 + 38 = 596 mm; height 700 + 38 + 38 = 776 mm. In this elevation it leaves 2 mm of the outer frame visible on each edge.
- Partial-overlay door: width 520 + 10 + 10 = 540 mm; height 700 + 10 + 10 = 720 mm. It leaves 30 mm of the outer frame visible on each edge.
These dimensions describe the closed front elevation only. They do not prove that a hinge can achieve the intended motion, that the neighboring front has sufficient gap, or that the handle clears a wall. A door thickness change, profile change or hinge substitution sends the application back for review. Do not reuse the same boring instruction because the cabinet opening has stayed the same.
Keep nominal gap and acceptable variation separate. A drawing that says “2 mm gaps” leaves unresolved whether every measured gap must be exactly 2 mm, what variation is allowed and how it is inspected. The AWI architectural wood-casework aesthetic requirements distinguish construction-specific gap and alignment criteria. If that standard is adopted by a project, identify the applicable edition, grade and clause in the specification. The example here does not claim AWI compliance.
A reveal problem that hinge adjustment cannot solve
Suppose the F-12 frame opening is confirmed at 520 mm wide, but the supplied inset door measures 517 mm instead of the specified 516 mm. For this diagnosis assume straight, square parts and measurements taken at the same condition. The remaining total side gap is 520 − 517 = 3 mm. Centering the door produces 1.5 mm at each side, not the target 2 mm.
Moving the door sideways can redistribute the 3 mm. For example, 2 mm on the hinge side leaves 1 mm on the latch side. It cannot produce two 2 mm gaps because that requires 4 mm in total. This is a dimensional mismatch to resolve, not an invitation to keep adjusting until the gap looks better from one angle.
| Check | Observed or required | Recorded action |
|---|---|---|
| Opening | 520 wide; straight and square assumed for this isolated example. | Retain measurement and datum; on a real sample also check diagonals and height. |
| Door width | Required 516; received 517. | Hold the sample for dimensional correction or replacement under an approved method. |
| Side reveals | 3 total available; 4 required for two nominal 2 gaps. | Reject adjustment-only closure. Record that a sideways shift cannot recover the missing 1. |
| Hinge application | Exact hinge/plate, door profile and minimum operating gap not yet approved. | Retain as a separate hold after the dimensional defect is corrected. |
| Recheck output | Corrected 516 door in confirmed 520 opening; final gaps, face plane and movement recorded. | Release only when the agreed gap variation and hardware operation are accepted; no automatic production approval. |
Do not generalize that example to every rubbing door. A real opening may be out of square, a door may be bowed, a cabinet may have been distorted during installation, or a hinge may be loose or inappropriate. Check the cause before altering the finish or edge. A manufacturer-approved rework can be reasonable; undocumented sanding can change appearance, edge protection and the reference dimensions needed for a replacement.

Separate moisture behavior from fitting and installation defects
Wood exchanges moisture with its environment, and changes in moisture content can affect dimensions. The USDA Forest Products Laboratory discussion of moisture control explains the role of drying, handling, storage and service conditions. It does not provide one universal cabinet-door clearance. A finished door’s behavior depends on its material, construction, finish and environment.
Obtain the door supplier’s applicable storage, acclimation and service-condition instructions and preserve the finish on specified edges. Record room conditions when reviewing a suspected movement issue. A solid-wood frame-and-panel door, a veneered panel and a painted engineered-panel door should not inherit the same assumed movement allowance merely because their faces look similar.
Inset puts a door perimeter inside an opening, so lost clearance can become visible as contact with that frame. Overlay can also bind against adjacent fronts or other elements. Neither arrangement is a remedy for uncontrolled moisture or site distortion. Agree who diagnoses a problem, what evidence is needed and which repairs require supplier approval.
Approve one complete door-and-hardware arrangement
Blum’s current hinge information distinguishes applications and mounting plates, while its assembly resources separate adjustment tasks. The practical lesson is to use the exact proposed hardware instructions. A hinge adjustment range is not a general manufacturing tolerance, and “adjustable” does not promise to correct any size error.
- Design review: identify flush inset, full overlay or partial overlay; dimension the gap or coverage and the door face plane.
- Hardware review: record hinge and plate or adapter, fixing pattern, door thickness/profile assumptions, stops or buffers, and opening requirements.
- Sample review: inspect final finished parts, all closed gaps, frame/door face alignment, complete movement and any adjoining front.
- Installation review: check that the installed box has not changed the approved opening geometry; retain the final adjustment record.
- Service handover: retain door dimensions, finish reference and hardware identification for diagnosis and replacement.
Ask each supplier to price that complete arrangement. For inset, isolate any additional fitting, finishing, sample and installation work. For overlay, identify coverage-specific hardware and any changed front sizes. A price difference without these details does not establish the cost of the door position. This article offers no market premium; the cabinet quotation comparison guide supplies the broader method for comparing inclusions.

When the added complexity earns its place
Choose inset when the visible frame and flush face are a deliberate design requirement, the sample demonstrates the actual application, and the project accepts its documented dimensional and service controls. Choose full overlay when the brief favors broad door surfaces with little exposed frame. Choose partial overlay when the wider frame border is the intended appearance. Do not buy inset solely because it is described as premium, or accept an overlay substitute solely because it is easier to supply.
For F-12, retain inset as the design choice only after the 517 mm sample-door defect is closed and the separate hinge operating-gap hold is resolved. If the project does not value the flush detail enough to manage those approvals, return to a properly specified overlay alternative. Send NOVARMIA the frame section, intended door position, finished door material, gap/coverage targets and adjoining conditions to discuss a matching sample and quotation scope.
FAQ
Can an existing overlay cabinet be converted to inset?
Assess it as a redesign. The opening may need a different door size, hinge or plate, stops and finish treatment. Check usable internal depth and operating interference as well as appearance. Do not assume that trimming the old door produces a coordinated inset assembly.
Does an inset door require a handle?
The opening method is a separate hardware decision. A pull, knob or compatible touch-opening arrangement must work with the intended closed position and available operating travel. Confirm the complete arrangement on the sample instead of treating the flush face as proof of compatibility.
Can inset doors and overlay drawers be combined?
They can be specified together, but draw the different front planes and borders explicitly. Check the junction between a door and the drawer above it, handle reach and opening movement. Approve the combination as an elevation rather than assuming that each component’s individual approval covers the junction.
What should be kept for a future replacement door?
Retain the finished dimensions, face-plane detail, edge profile, hinge boring and mounting information, handing and approved finish reference. Photographs help show appearance but cannot replace those dimensions or guarantee a color match after the original finish has aged.